
Single Sign-On (SSO)
Introduction
If you have enabled Single Sign-On (SSO) for your organization with an ID provider using the OIDC protocol, you can use SSO for accessing your Zinrelo instance as well.
How to set up SSO with Zinrelo
Step 1: Add Organization Administrator
In order to set up Single Sign-On (SSO) with Zinrelo, it is necessary to create a designated organization administrator. Follow the steps below to create the Zinrelo administrator:
- Log in to your Zinrelo account using your credentials.
- Navigate to the General>> Administrators section in the menu.
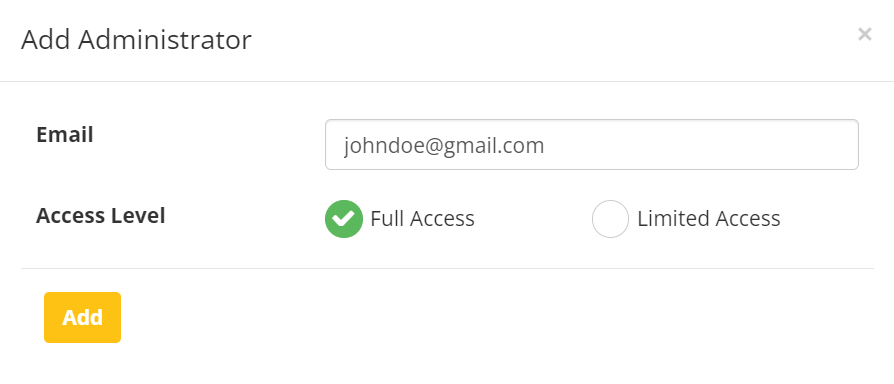
- On the administrator management page, select the option to add a new administrator.

- Provide the email address of the administrator who will be responsible for managing the organization. And assign full access permissions to the administrator.
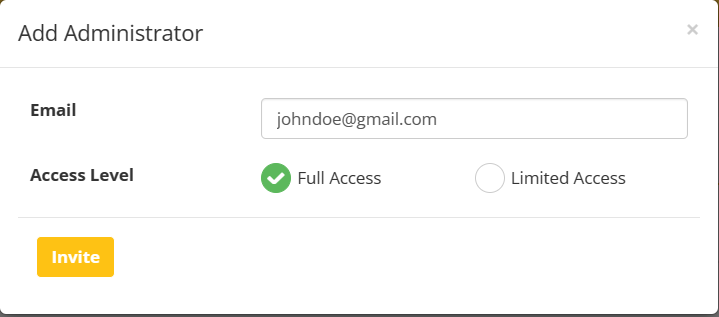
- Click on the "Invite" button to send an email invitation to the specified email address.
Please Note:Please share the email address of the organization administrator with your account manager at [email protected]. For more details, refer to the “Share application details with Zinrelo” section of the help document.
Note: If you have already created organization administrator for your stores, you can skip the step of adding an organization administrator.
Who is the organization administrator?
The organization administrator is the user who has login access to the admin console with SSO as well as email and password. Additionally, in the event that all other administrators are unable to log in due to SSO misconfiguration, only the organization administrator will be able to access and log in to the admin console.
Step 2: Set up SSO
Set up with Okta
- Log in to your SSO provider administrator account and go to the Applications section.
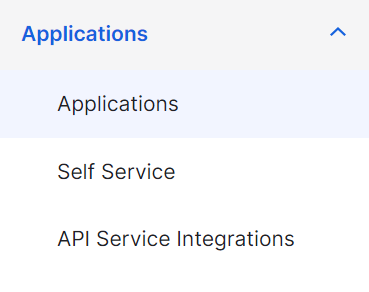
- Click on “Create App Integration.”

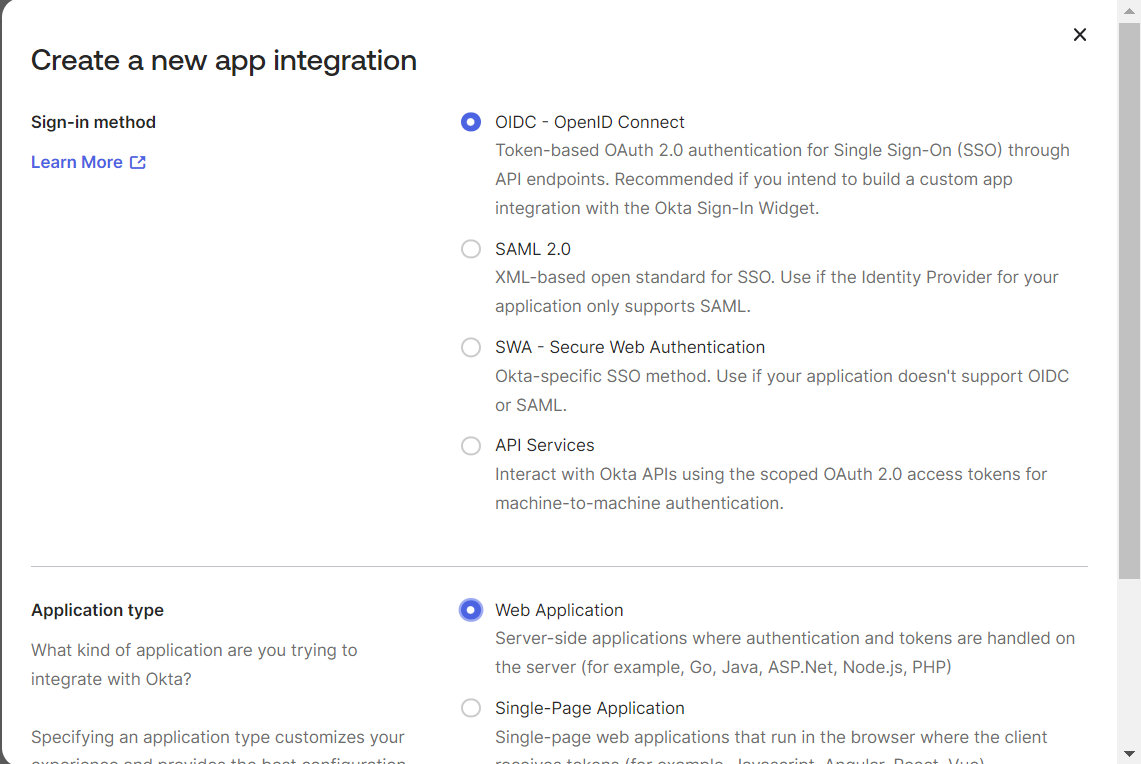
- Select "OIDC" as the Sign-In Method and "Web Application" as the Application Type. Then click on the "Next" button.
- In the General settings, enter "Zinrelo" as the App integration name.
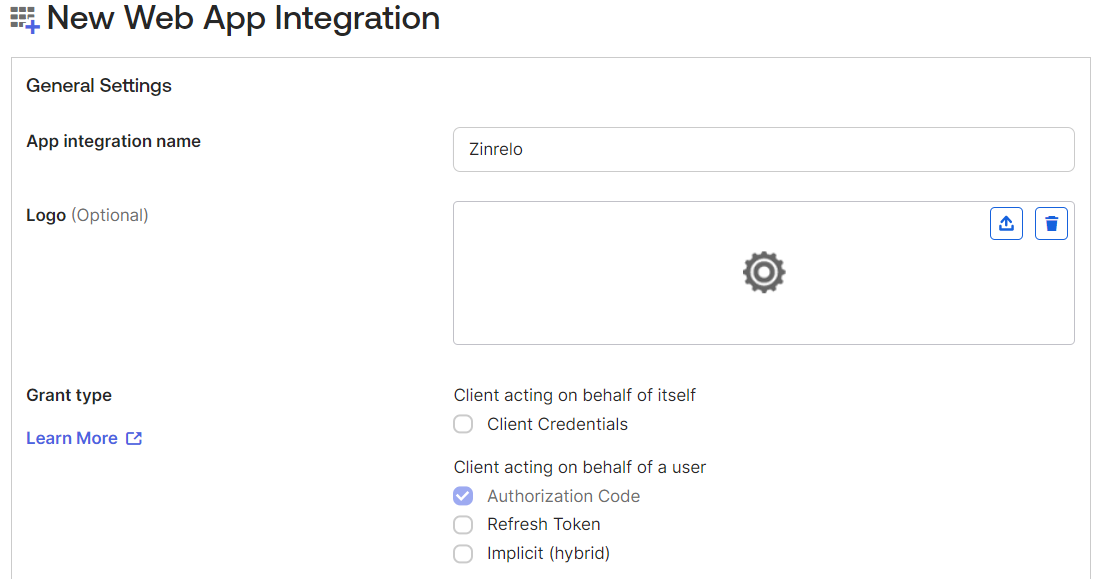
- For Grant Type, select "Authorization Code."
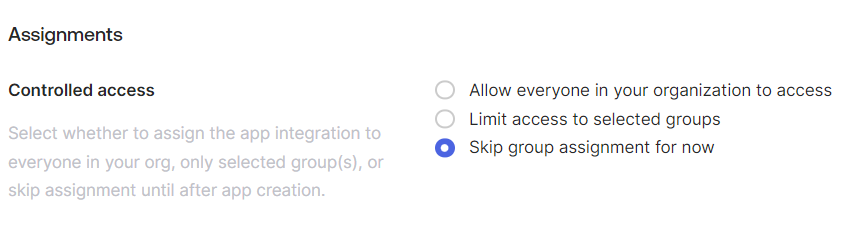
- In the Controlled access section, choose "Skip group assignment for now."
- Allow Access to Admins
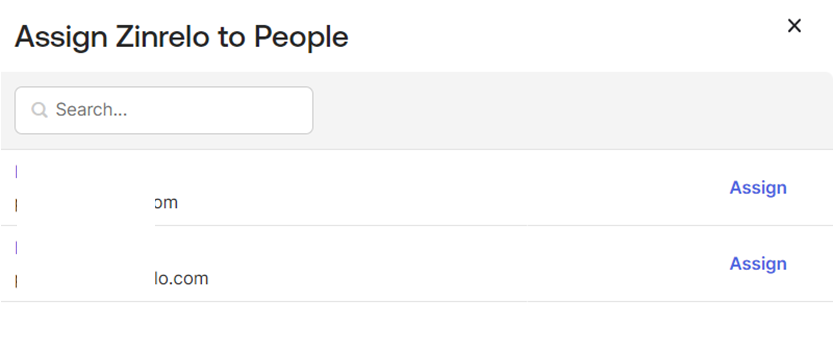
Once the application has been created, assign all the admins who should have access to the Zinrelo admin console.
- Click on "Assign" and choose either "People" or "Group."
- Select the admins to give them access and click on "Assign."
- Update the details of the assignee, if necessary.
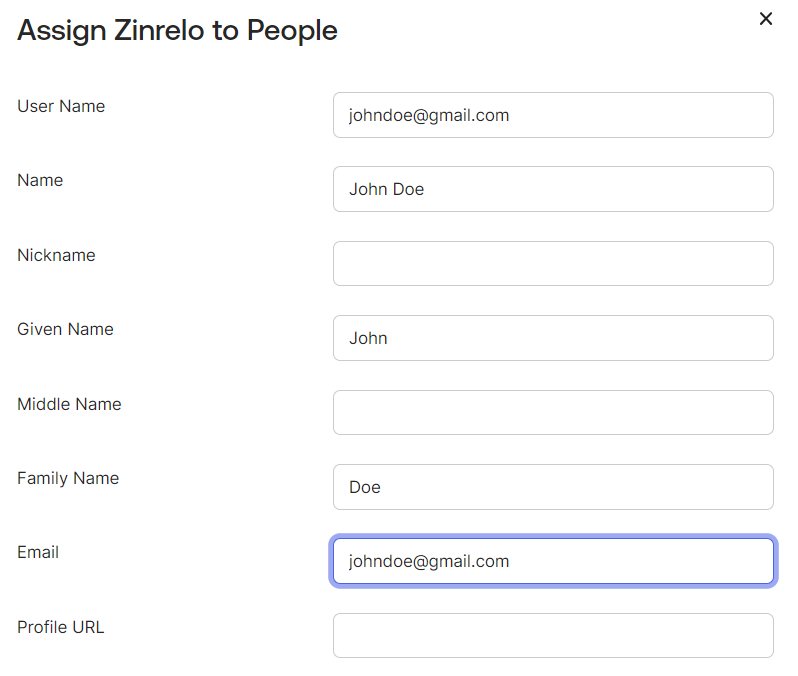
- Save the details.
SSO access has now been assigned to the admins.
After creating the application and assigning administrators to it, please provide the following information to Zinrelo.
Application Details
- Application Client ID
- Application Client Secret
Provider details
- Issuer endpoint (Eg. -> https://mydomain.okta.com)
- Authorize endpoint (Eg. -> https://mydomain.okta.com/oauth2/v1/authorize)
- Token endpoint (Eg. -> https://mydomain.okta.com/oauth2/v1/token)
- Userinfo endpoint (Eg. -> https://mydomain.okta.com/oauth2/v1/userinfo)
- JWKS URI (Eg. -> https://mydomain.okta.com/oauth2/v1/keys)
Note: For Okta, you can obtain these details from:
https://<your-okta-domain>.okta.com/.well-known/openid-configurationFor other providers, you can fetch these details from their respective configuration/ settings.
Once we integrate your Identity Provider with Zinrelo, you will get a “redirect url” from us which needs to be added to the identity provider application.
Enter the “redirect url” to “Sign-in redirect URIs” of your Identity Provider.
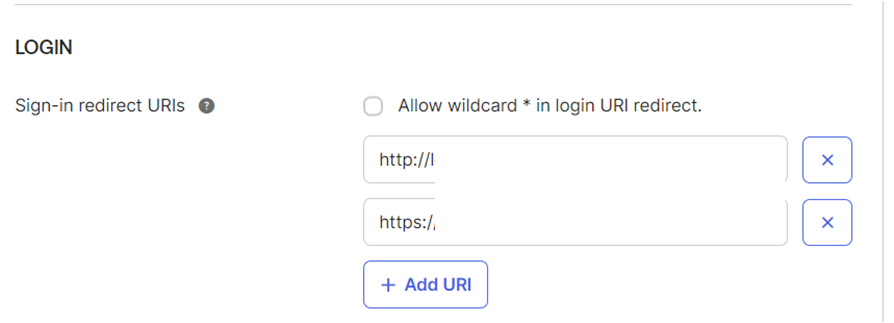
And save the settings.
Set up with Azure
- Sign in to the Azure Portal.
- After signing in, navigate to the 'Azure services' section and locate and click on 'Azure Active Directory.'

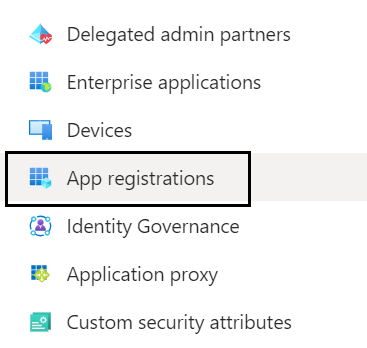
- Once you're in the Azure AD console, find and select 'App registrations' from the Navigation menu.
- From there, click on the "New Registration" button.

- When prompted, input 'Zinrelo' as the application name. In the "Supported account types" setting, choose 'Accounts in this organizational directory only (MSFT only - Single tenant).' Finally, click the "Register" button.

- After the application has been successfully created, you'll need to share the following application details with Zinrelo:
- Application (client) ID
- Client Secret
- OIDC Metadata Endpoint
The steps for generation are mentioned below:
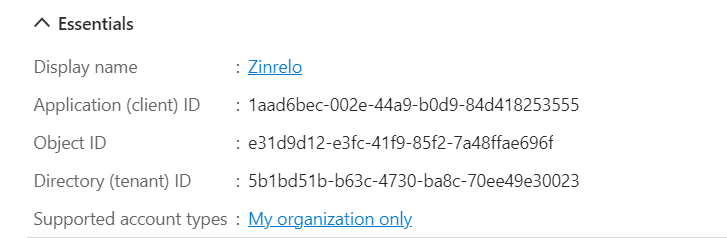
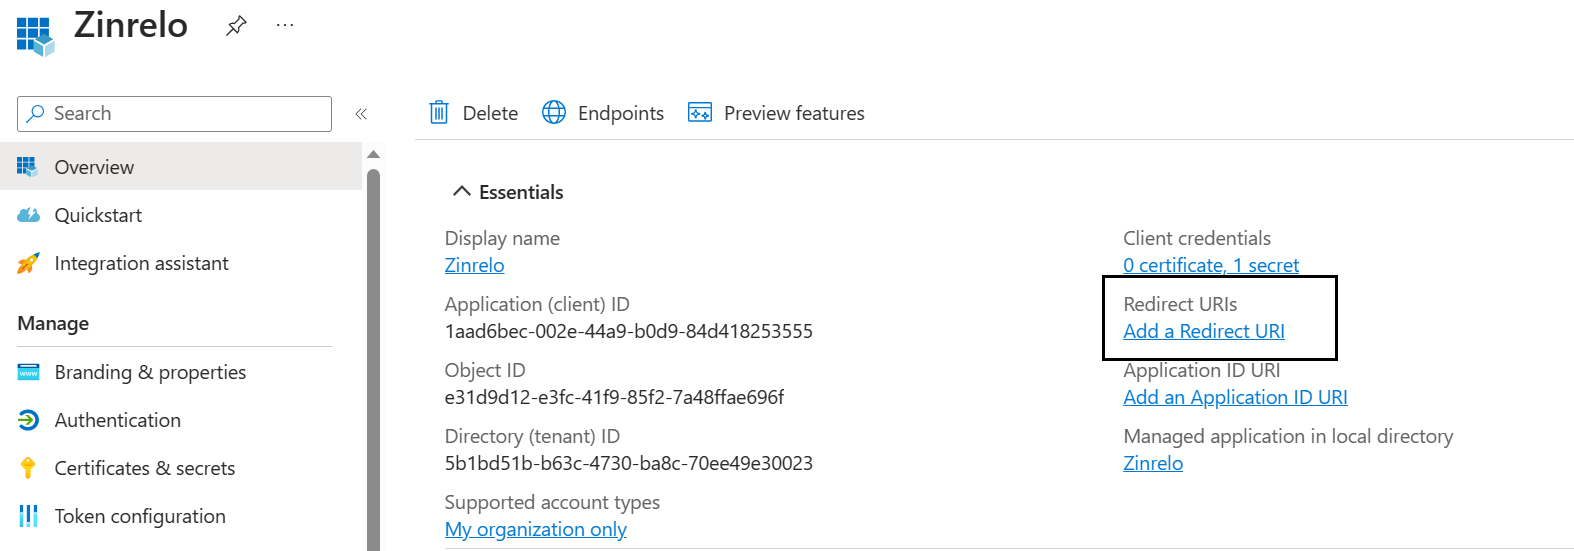
i. Application (client) ID: To obtain the Application (client) ID, navigate to the 'Essentials' section within the application's overview.
ii. Client Secret: For the Client Secret, within the 'Essentials' section of the application overview, click on 'Add a certificate or secret.'
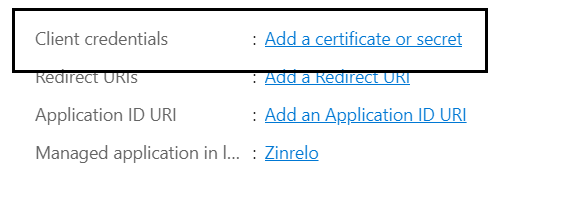
Then select “New client secret.”
Enter a suitable name for the secret. In the 'Expires' field, choose '24 Months' and click 'Add.'
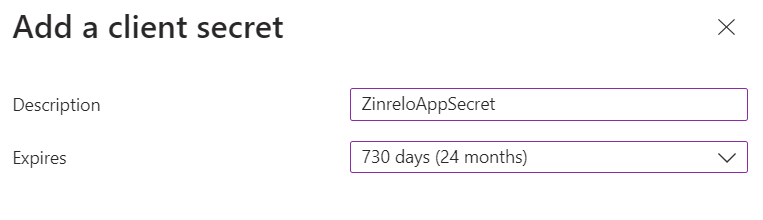
The client secret will be generated. Copy the provided value and share it with us.

iii. OIDC Metadata Endpoint: To obtain the OIDC Metadata Endpoint, navigate to "Overview" and then "Endpoints."

Copy the URL for the 'OpenID Connect metadata document' endpoint and share it with us.

- Once you share application details with us, we will give you the “redirect url.”
- This shared URL needs to be added under the "Add a Redirect URL" section on the "Overview" page.
Follow the given steps:
i. Navigate to the "Overview" section and select "Add a Redirect URL."
Note: Ensure that you are on the Zinrelo app's overview page.
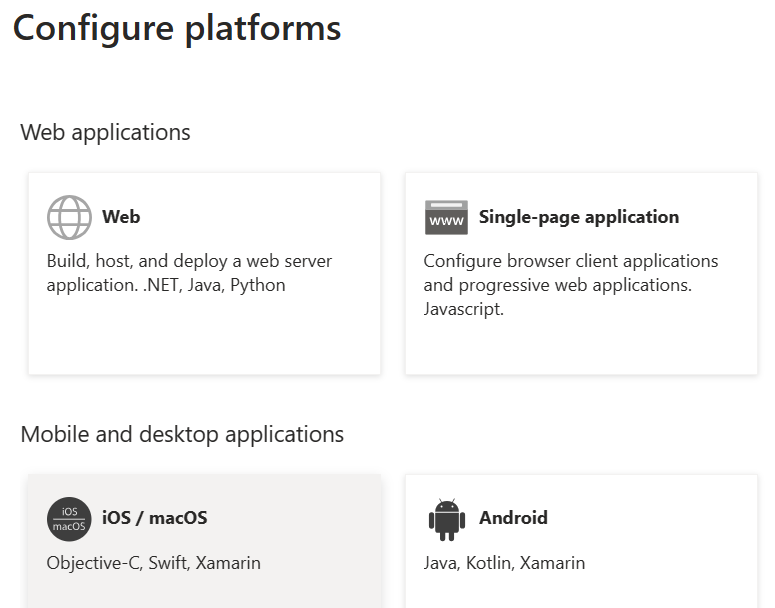
ii. Subsequently, click on "Add Platform."

iii. Select “Web” as the “Application type.”
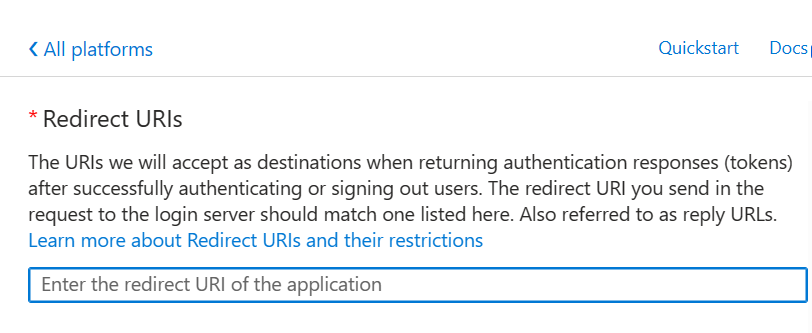
iv. Enter the 'Redirect URI' as provided by Zinrelo, then proceed by clicking on the "Configure" option.
Upon successfully completing the aforementioned steps, your Identity Provider (IdP), specifically Azure AD in this case, will be seamlessly integrated with Zinrelo.
Step 3: Share organization details with Zinrelo
Organization Details
- Designated organization administrator
- Organization Name
- Organization ID
Please Note:The Organization ID will be used when logging in using SSO. It should only contain lowercase ASCII characters, numbers, and hyphens ('-').
Step 4: Add Zinrelo administrator to Login through SSO
To add the administrator to login through Single Sign-On (SSO), please follow these steps:
- Make sure the administrator is added to your Identity Provider before adding.
- Log in to your Zinrelo account using your credentials.
- Navigate to the "General" section in the menu and select "Administrators."
- On the administrator management page, choose the option to add a new administrator.
- Provide the email address of the administrator and grant full access permission, then click on the "Add" button.
The steps of sign-in through SSO are elaborated below.
Post Integration
Once you have completed the setup of SSO for your admins, they need to log in to the admin console using their SSO login credentials. To do this, please follow these steps:
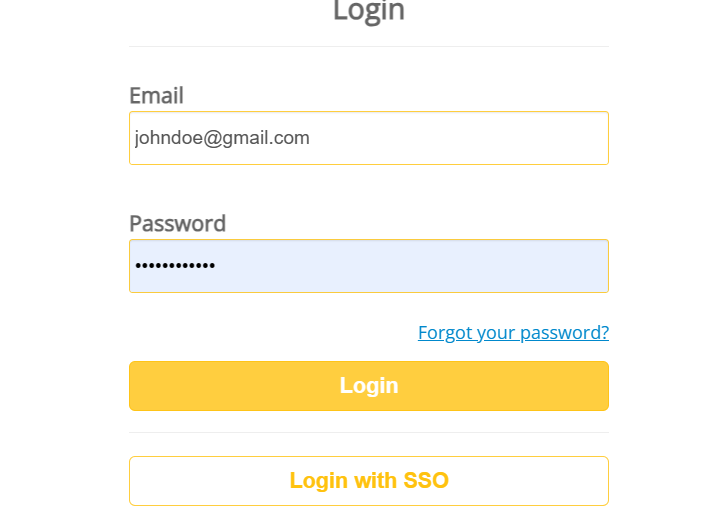
- Visit the Zinrelo admin console.
- Click on "Login with SSO."
- Enter the "Organization ID" that you shared with us, and then click on "Continue."
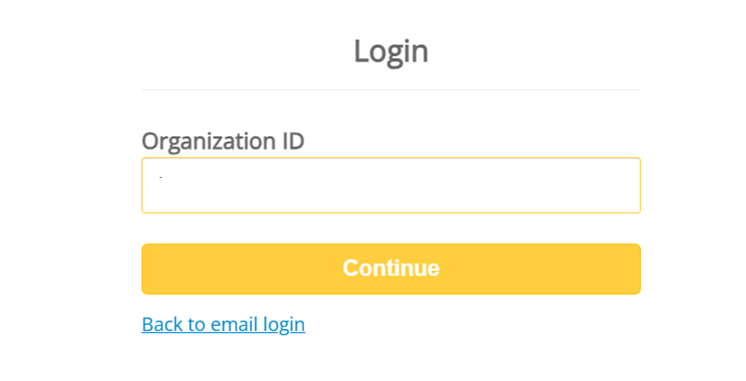
Note:In the event that you have forgotten your Organization ID, contact your designated account manager at [email protected] for prompt assistance.
- You will be redirected to the sign-in page of your identity provider.
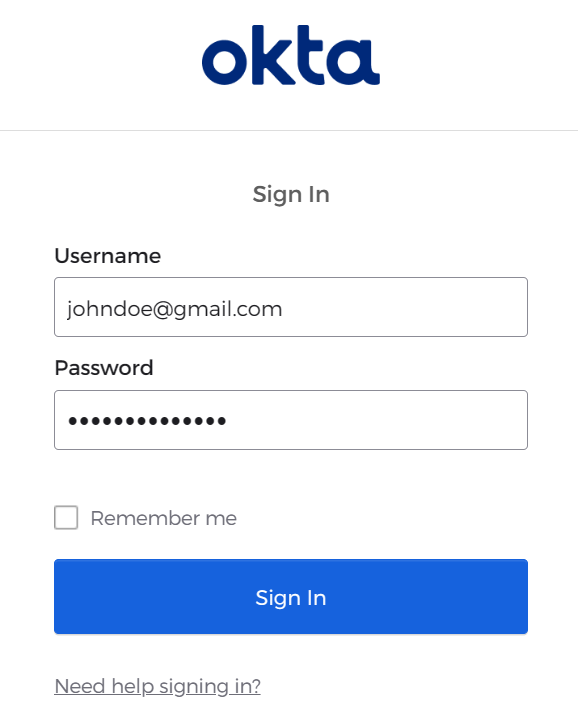
- Enter your SSO credentials on the sign-in page.
- After entering your credentials, you will be redirected and logged in to the Zinrelo admin console.
- If there is a need for reconfiguration of Single Sign-On (SSO) due to changes in the application details you have provided, please reach out to your account manager at [email protected] for further assistance.
- Once SSO is configured, an administrator account is created automatically. If the admin user was already created in the Zinrelo admin console, they will be automatically authenticated and granted access when they sign up or sign in via SSO.
Frequently Asked Questions
Why is the invite button not visible when I add a new administrator?
The invite button is disabled once Single Sign-On (SSO) is enabled for the store. In this case, you can only directly add the administrator without sending an invitation.
Why don't I see the list of administrators I have in my identity provider account reflected in Zinrelo?
The administrator should be added to both the application, i.e, Zinrelo and the identity provider. Whether you want to add or delete an administrator, it is necessary to perform the action in both applications.
Can the organization administrator be modified?
Yes, the organization administrator can be replaced; to do so, please contact your account manager at [email protected].
Updated 3 months ago