
How to create a Journey in Salesforce Marketing Cloud
Introduction
This document will help you create journeys in the Salesforce Marketing Cloud. The SFMC journey can be used to create a seamless, personalized one-on-one experience for your loyalty members.
Before you start creating journeys in SFMC, you need to have a CRM account that is synced with SFMC.
Things to consider before you start creating journey
- Make sure you create your email templates and email messages prior to Journey Creation.
- While creating email templates, always add the physical mailing address, profile center, and unsubscribe centre link in the email template footer. If these details are not added, you will get an error message and not be able to send email.
Login to your salesforce marketing cloud account
- Click on the given url.
https://mc.s11.exacttarget.com- Log in with your credentials.
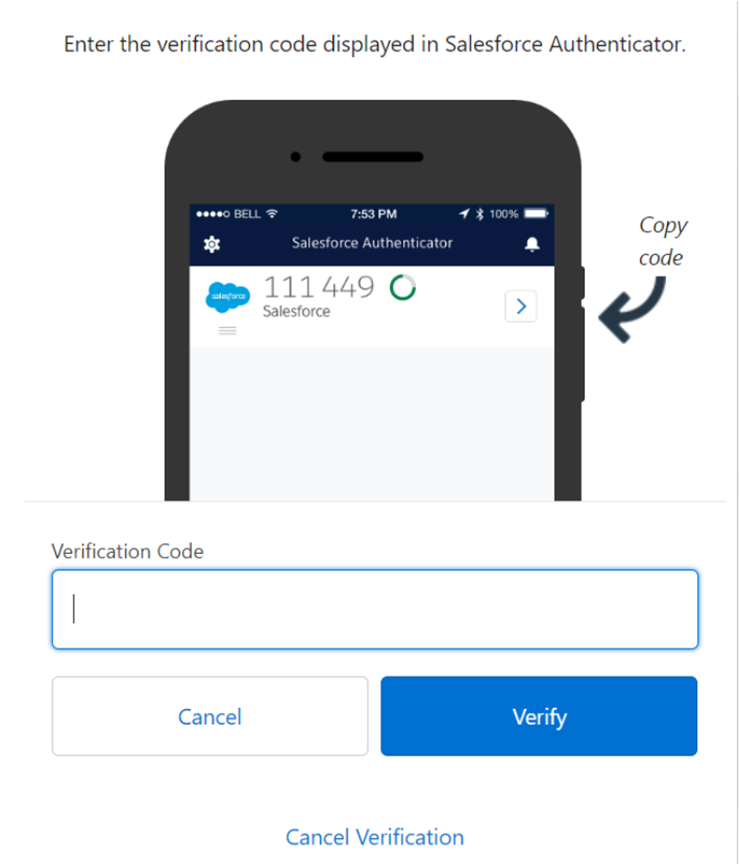
- You will be asked for a verification code that was sent to your registered email address.
- Install the Salesforce authentication app for 2FA.
- Enter the authenticator code.
Email configuration
Before creating a journey, you need to configure the email that you will call out in SFMC journey creation. Watch the video on email configuration.
Create a journey
Once your email template is ready, start with journey creation.
Define Entry Source
- Click on "Journeys" and then "Journey Builder."

- Click on "Create New Journey."

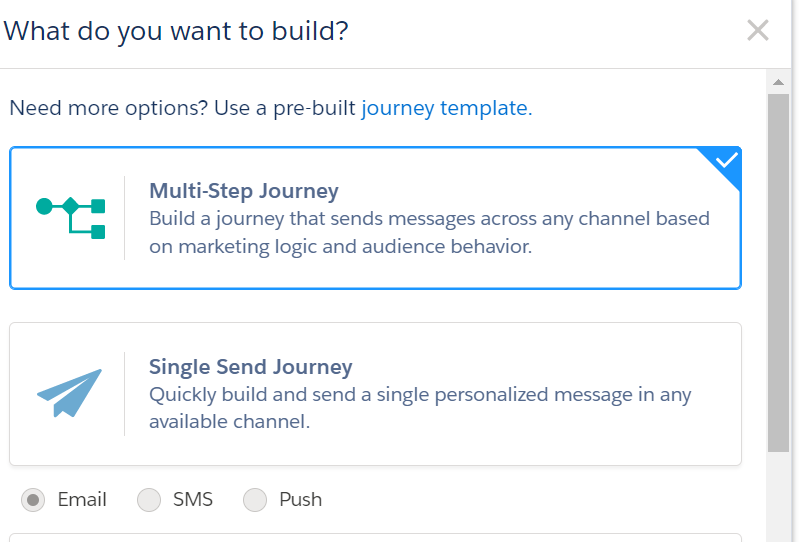
- Select "Multi-step journey" and click on to create a journey.
- Select Entry Source as salesforce data.
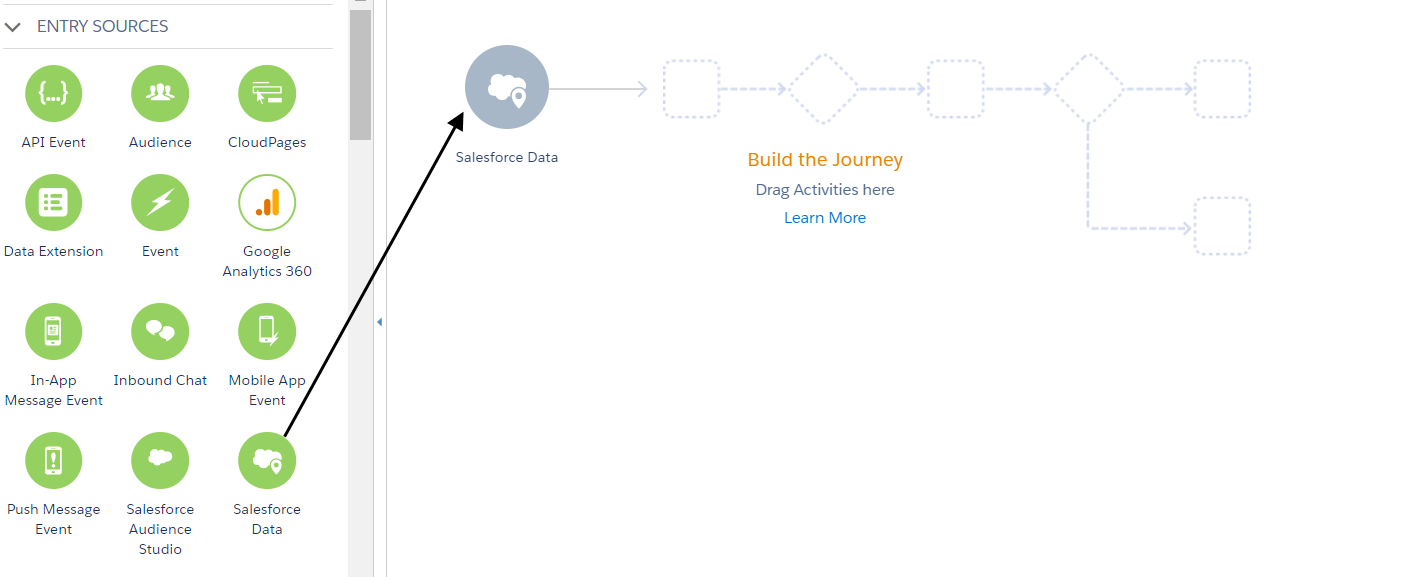
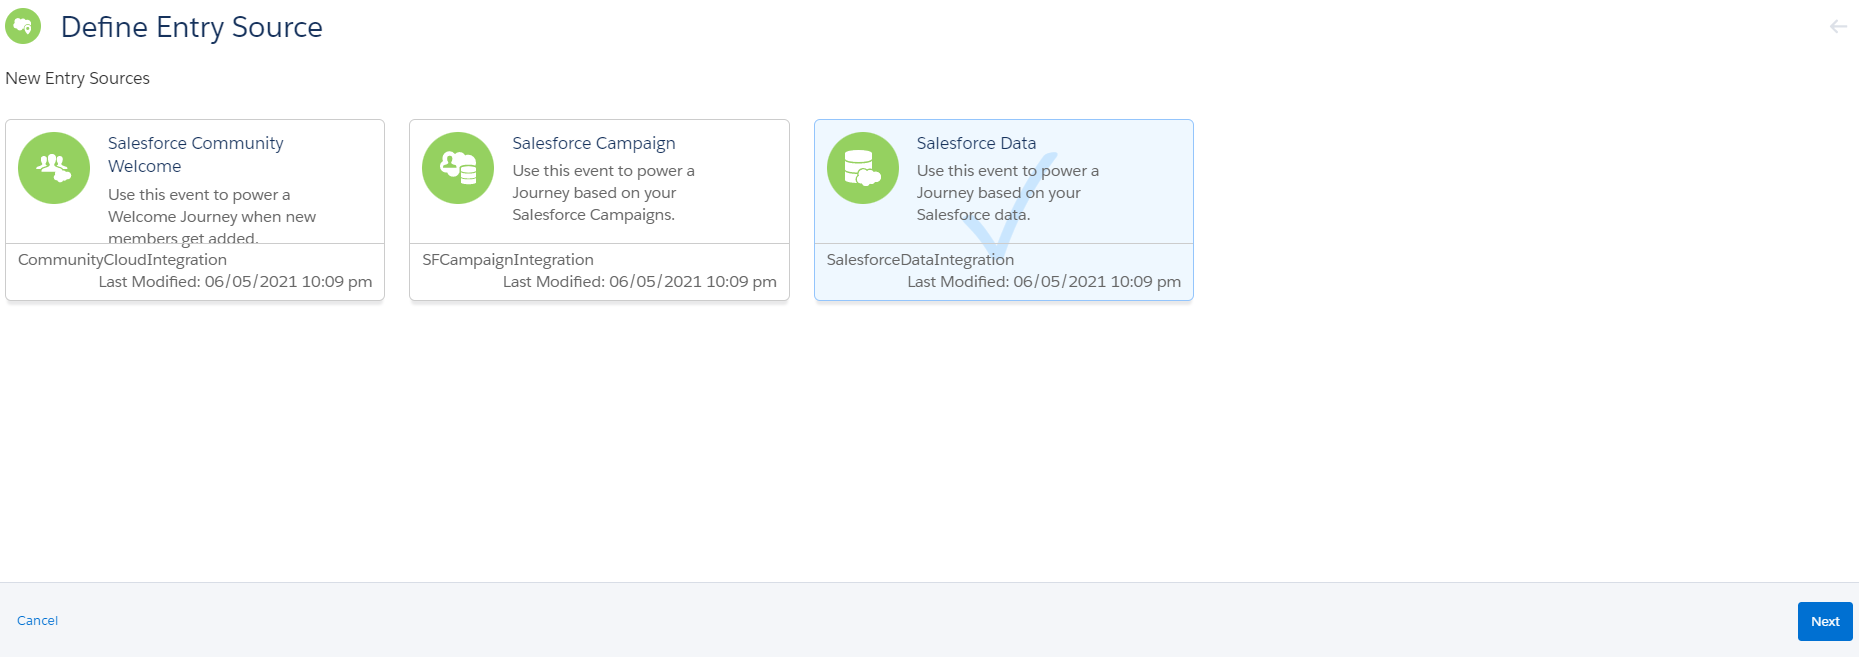
- Click on "Entry Source", select "salesforce data" and click "next."
- Select Object- Search for "Member."
- Click on "Member" and select "Member ID." Click "Next."
- Entry Criteria- Select "Is Updated" and then from attributes select "IsUpdated."
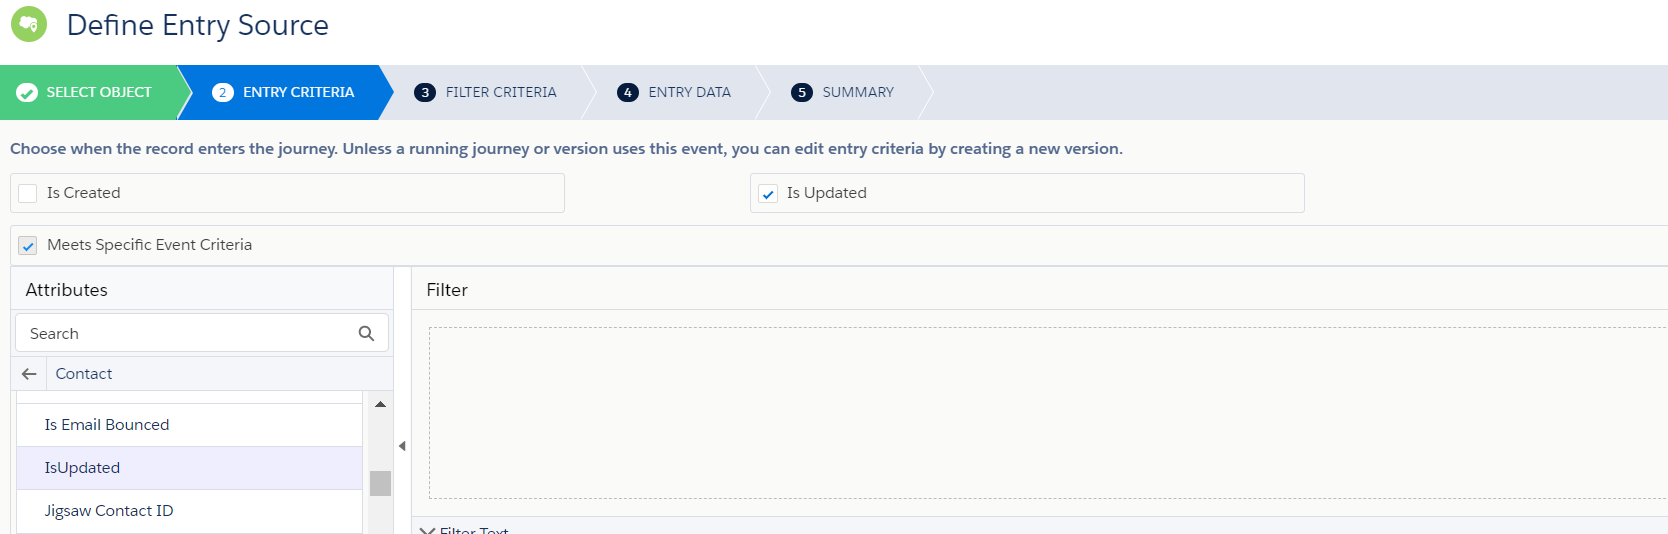
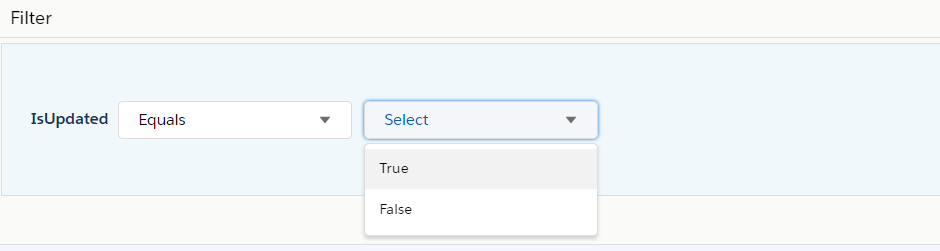
- Drag and drop "IsUpdated." Update the "IsUpdated" value equals to "True." And click on "Done" and "Next."
- Filter Criteria- Select the filters and then click on the "Next" button.
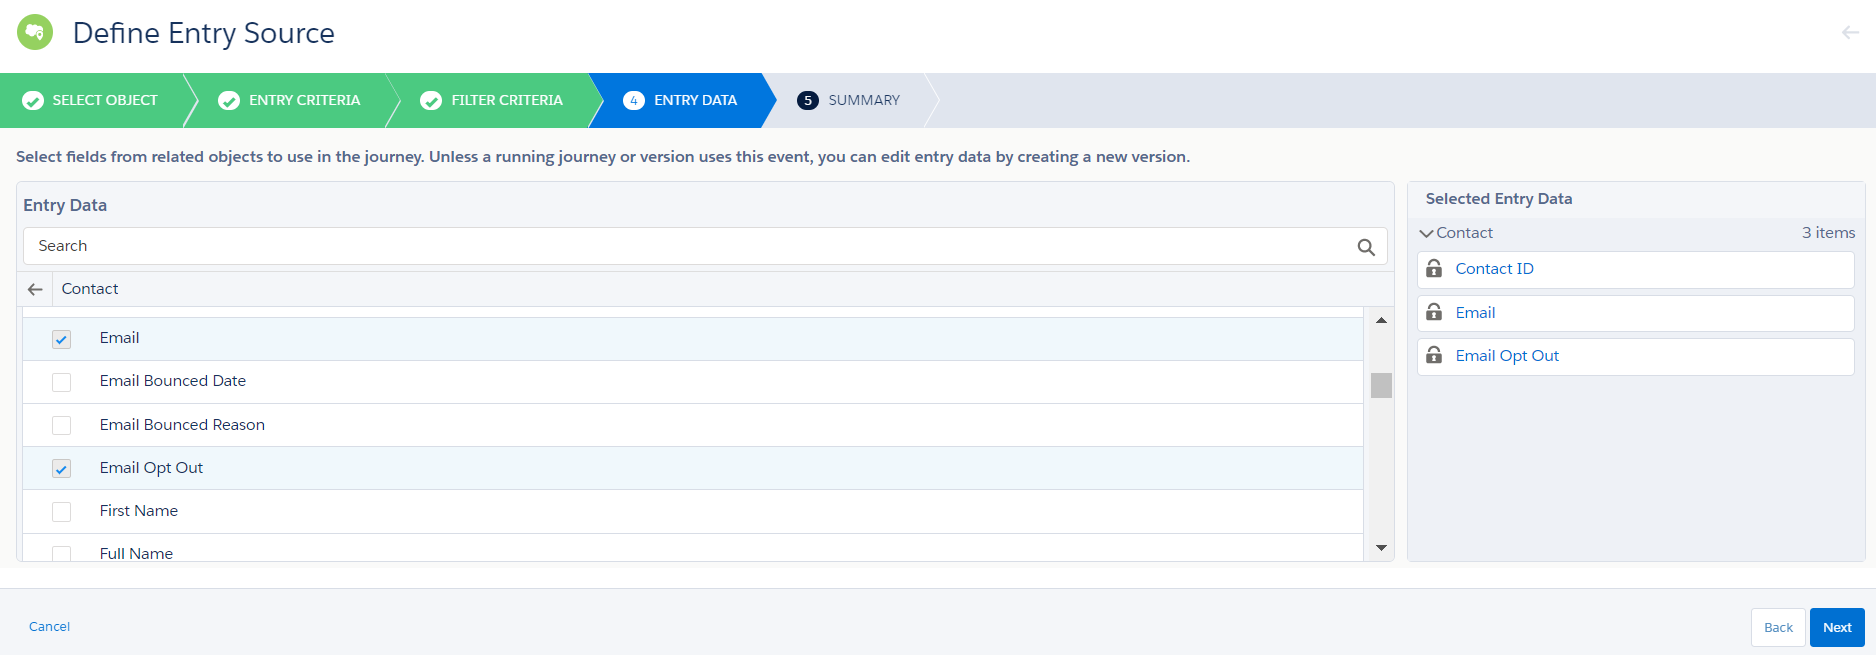
- Entry Data- Select Entry data which creates Data Extension to save the records which are entered in the journey.
Select the fields which will add to Data Extension and can be used for personalization in Email. Click Next.
- Summary- Details will display in summary. Click on "Done."
- Next Drag and Drop Email Activity and click on email Icon to select email message.
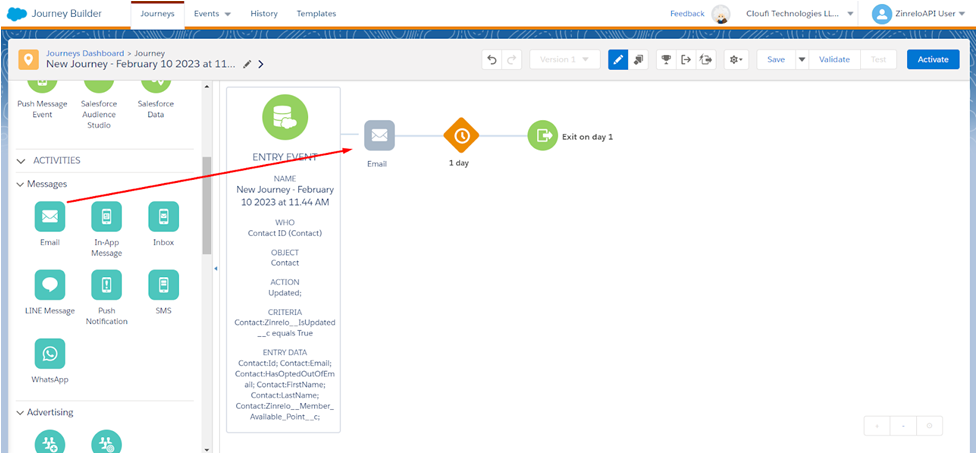
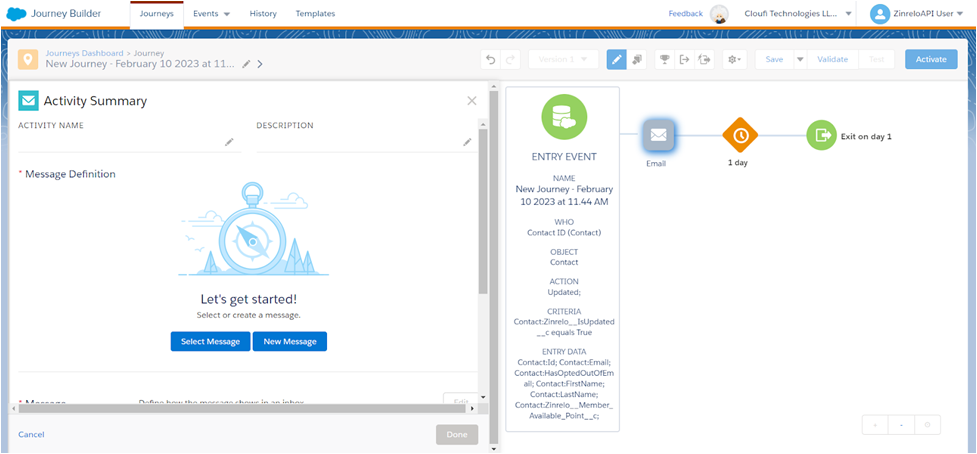
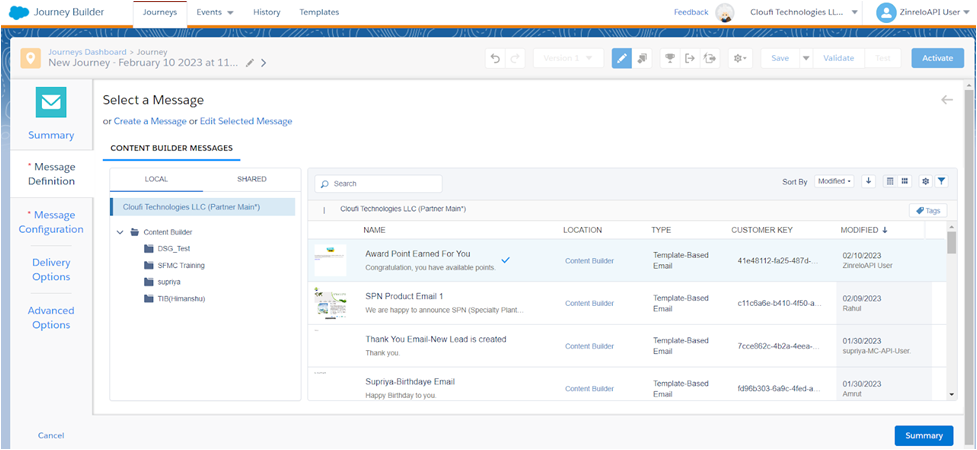
- Click on Select Message and click on the email you want to send in the journey and click on Summary.
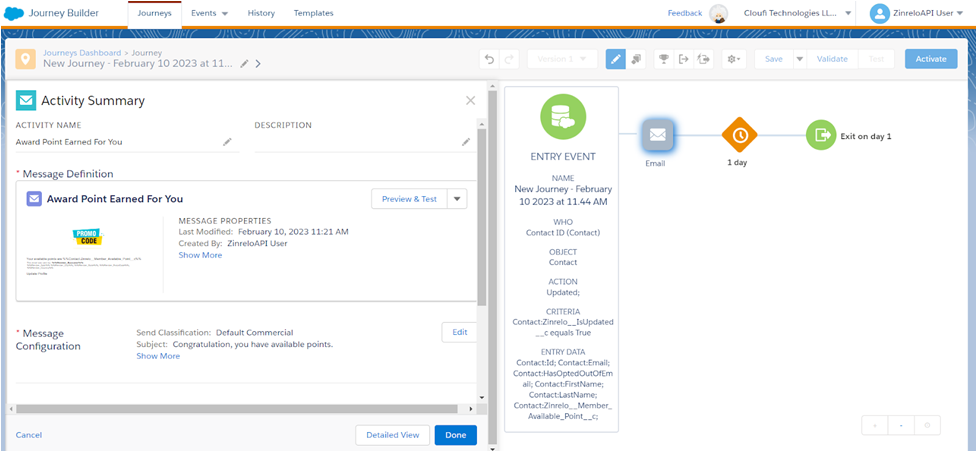
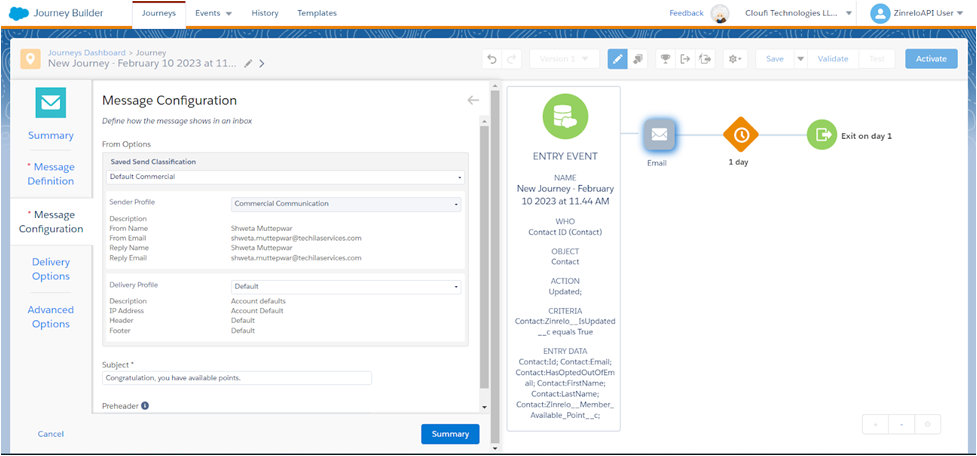
- Select Send Classification in Message Configuration by clicking on Edit and select your preferred Send Classification and Delivery Profile and then click on summary.
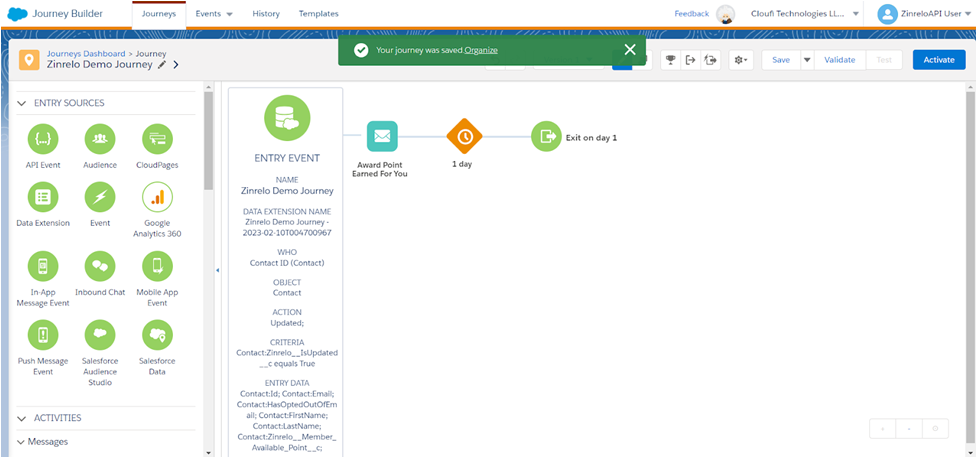
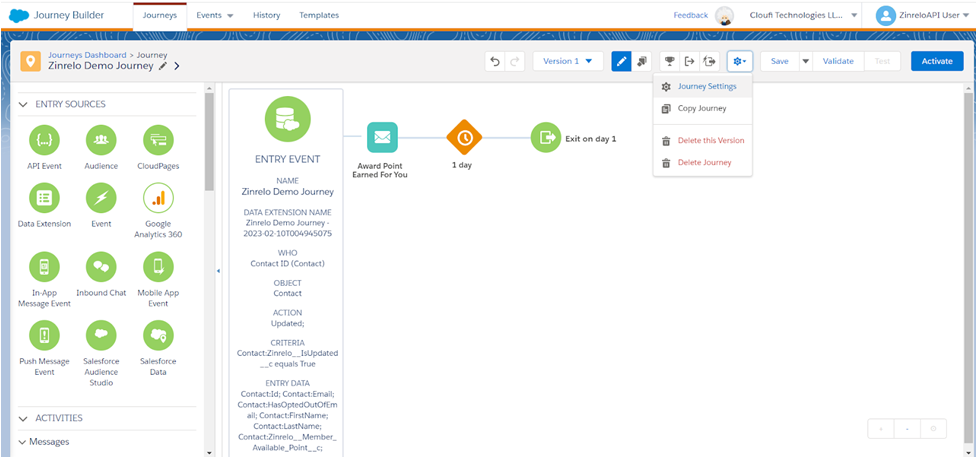
- Save Journey and then click on Settings to select Journey settings.
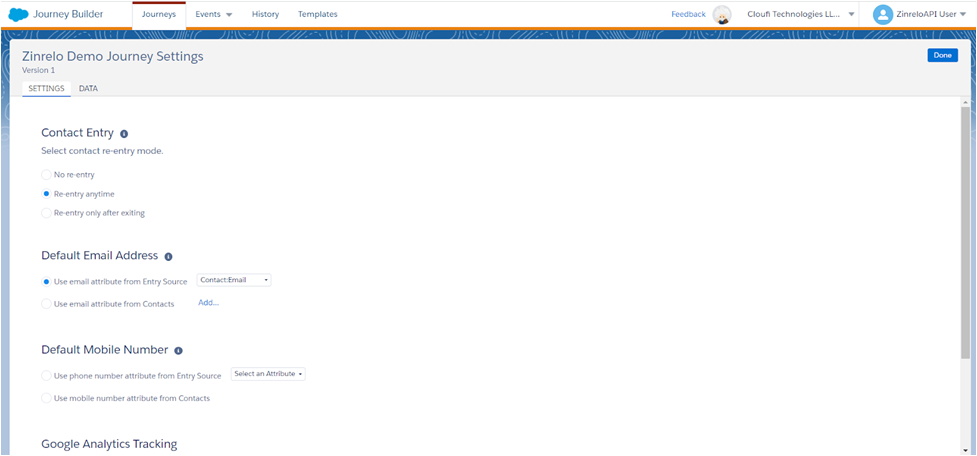
- Select Re-entry Mode and click on done.
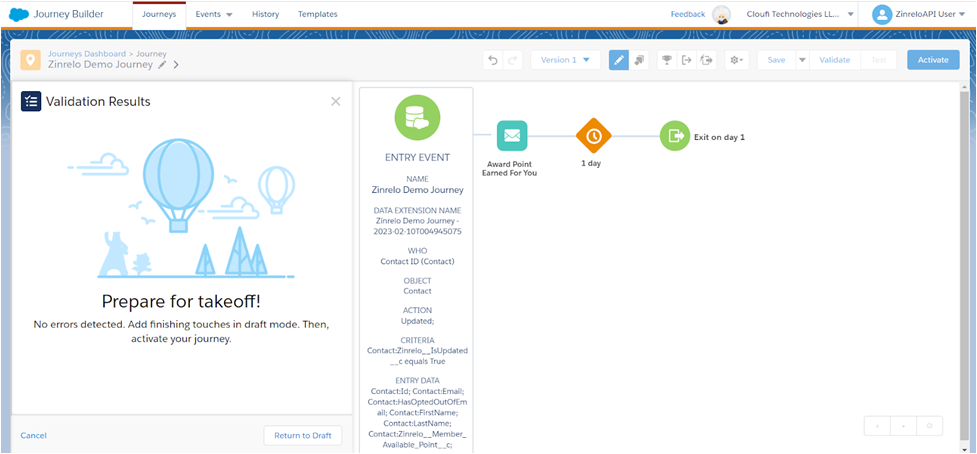
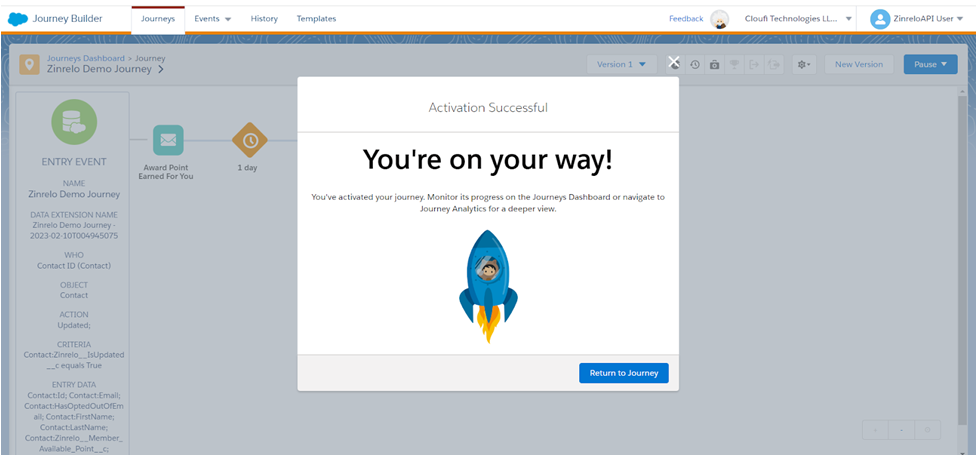
- Validate Journey → Click on Return to Draft and Activate Journey.
Updated 2 months ago