
Shopify Integration
This document will guide you to Shopify Integration with Zinrelo.
Introduction
If you have a Shopify store, you can integrate the loyalty program by using Zinrelo's Shopify app, which is available on the Shopify app store. Installing the app will handle both the basic website integration and purchase tracking.
Plugin-integrated features
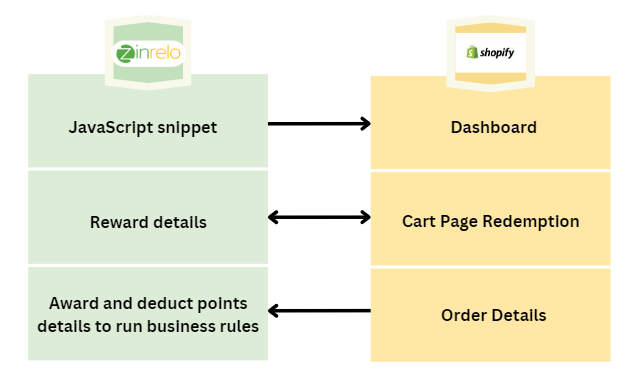
The detailed view is mentioned here.
Please Note:If you are using the older method of loading the Zinrelo dashboard (the liquid injection approach for Zinrelo Shopify integration), then you can continue using it. However, avoid using both approaches- "liquid injection approach and theme app extension" simultaneously, as this will cause dashboard render issues. If you notice any dashboard rendering issues, please either disable the theme app extension or remove the Zinrelo JavaScript code from the liquid files to resolve the issue. Please reach out to us at [email protected] in case of any queries.
Installation steps
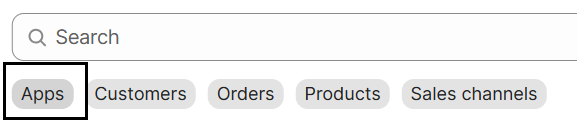
Note: If you already have the Zinrelo app, simply click on "apps," and select your Zinrelo app store.
To install the Zinrelo app on your Shopify store, please follow the steps given below:
- Search for "Zinrelo Loyalty Rewards" in the Shopify app store.
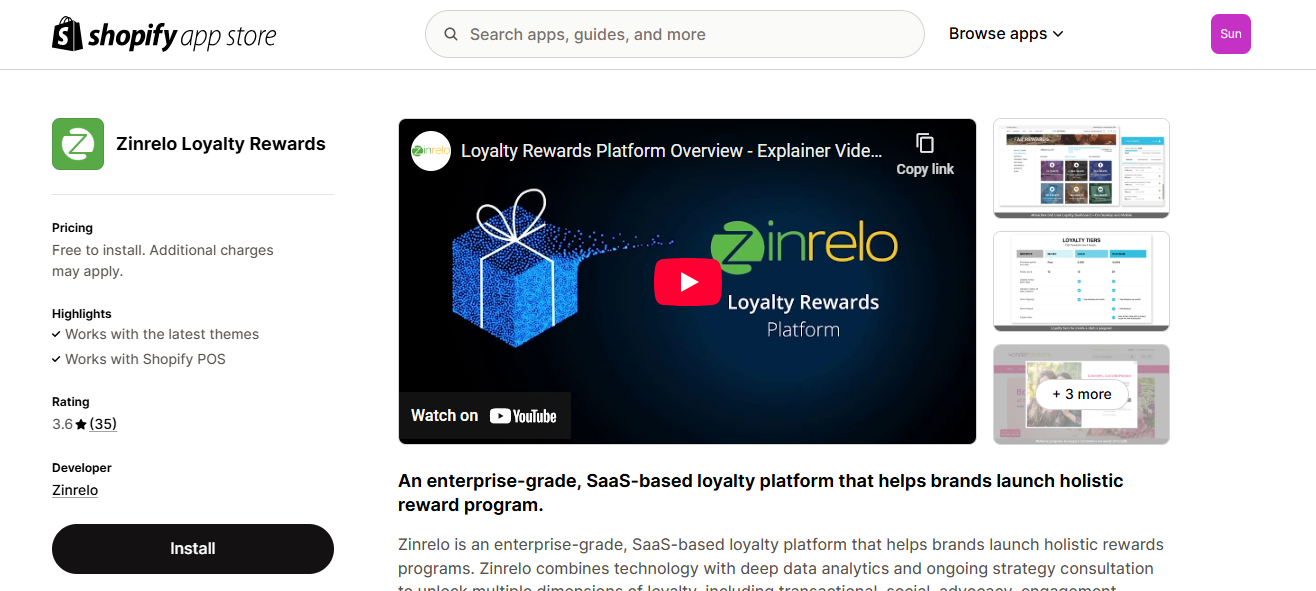
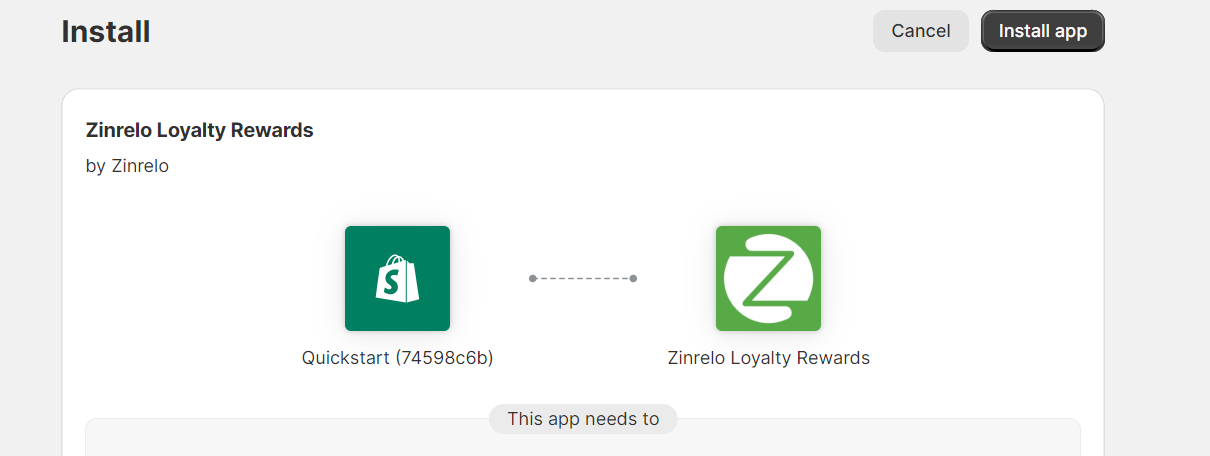
- Click on the "Install" button and complete the app installation.
- Select the store with which you want Shopify to integrate.
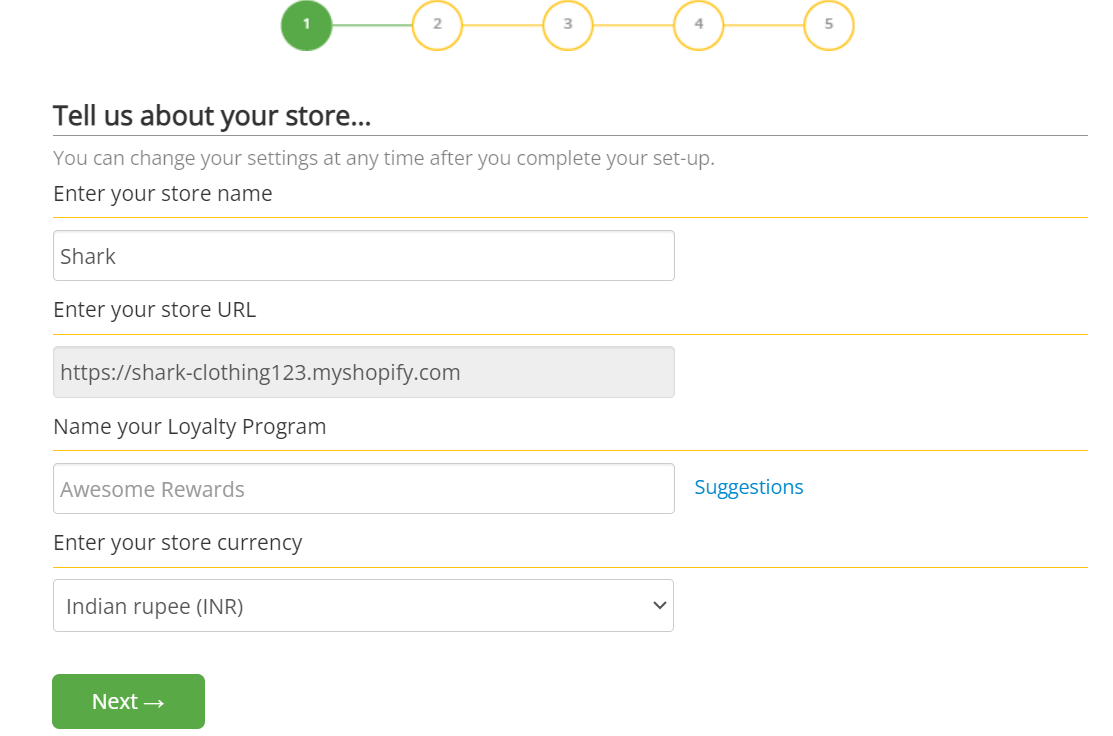
- A setup wizard will guide you through the account setup process.
a. Add the necessary details and then click on the "Next" button.
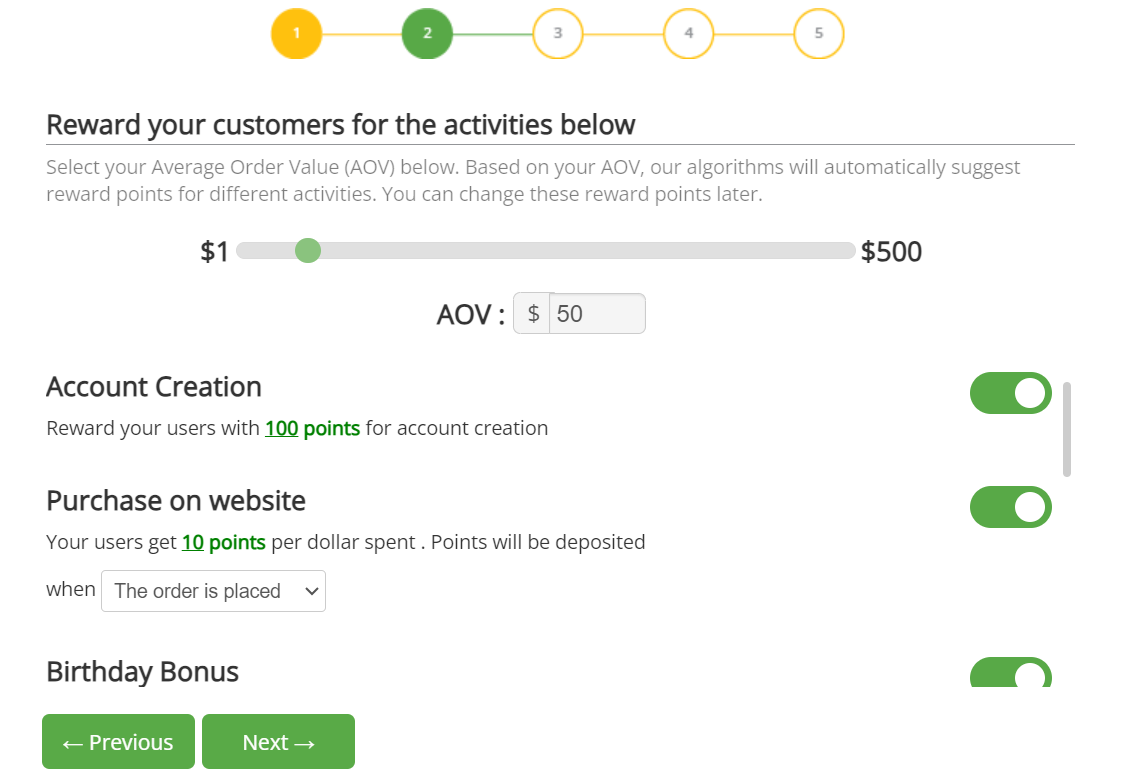
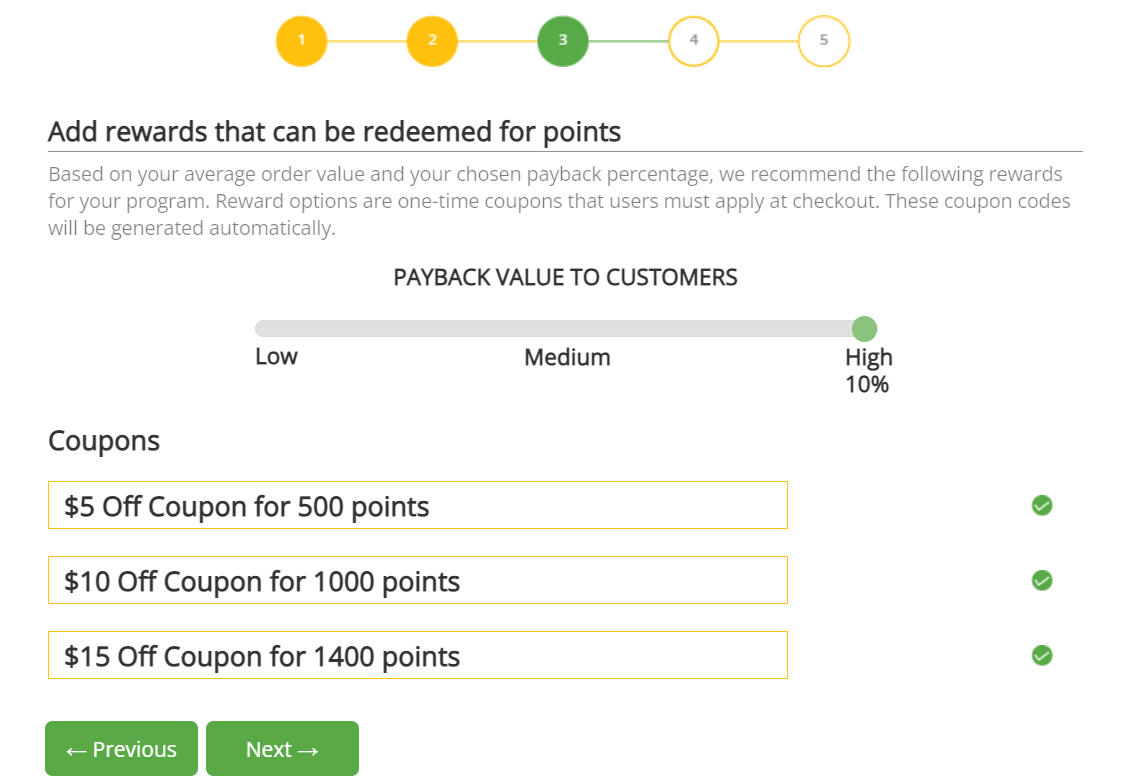
b. Keep clicking on the "Next" button.
c. Select the theme for your store and click on the "Next" button.
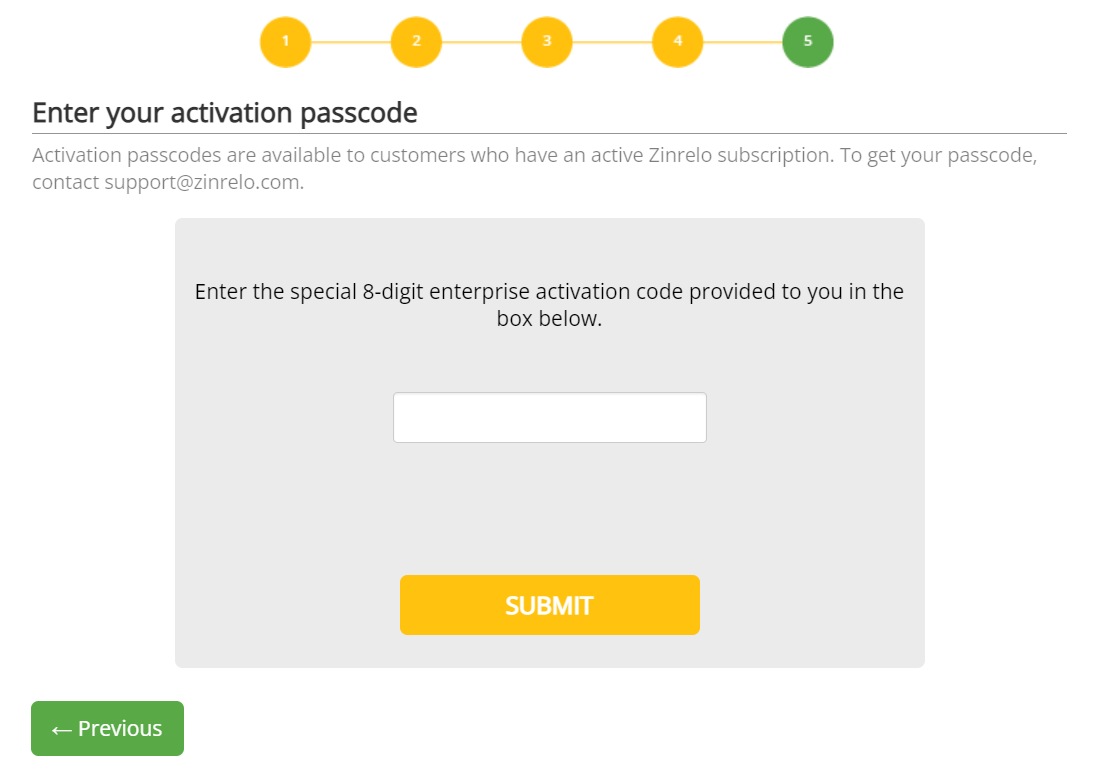
d. Enter the 8-digit enterprise activation code. To obtain the activation code, please contact your account manager at [email protected]. Then, click on the "Submit" button.
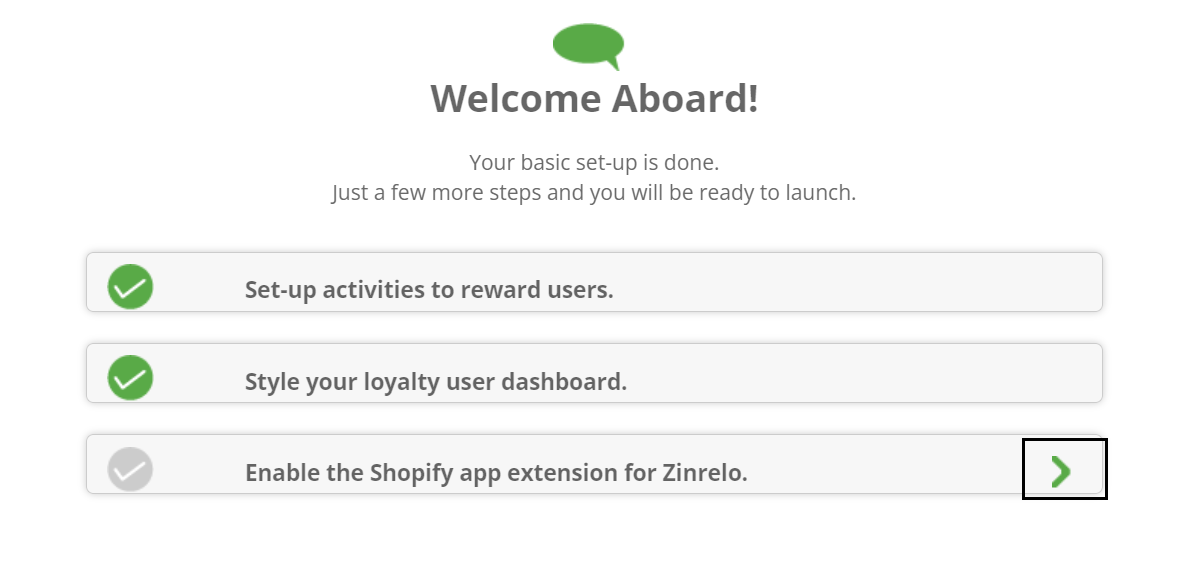
e. You will be redirected to the Zinrelo app store.
- Click on the "arrow" to enable the Shopify app extension.
- Click on the hyperlinked text that says "Go to Shopify."
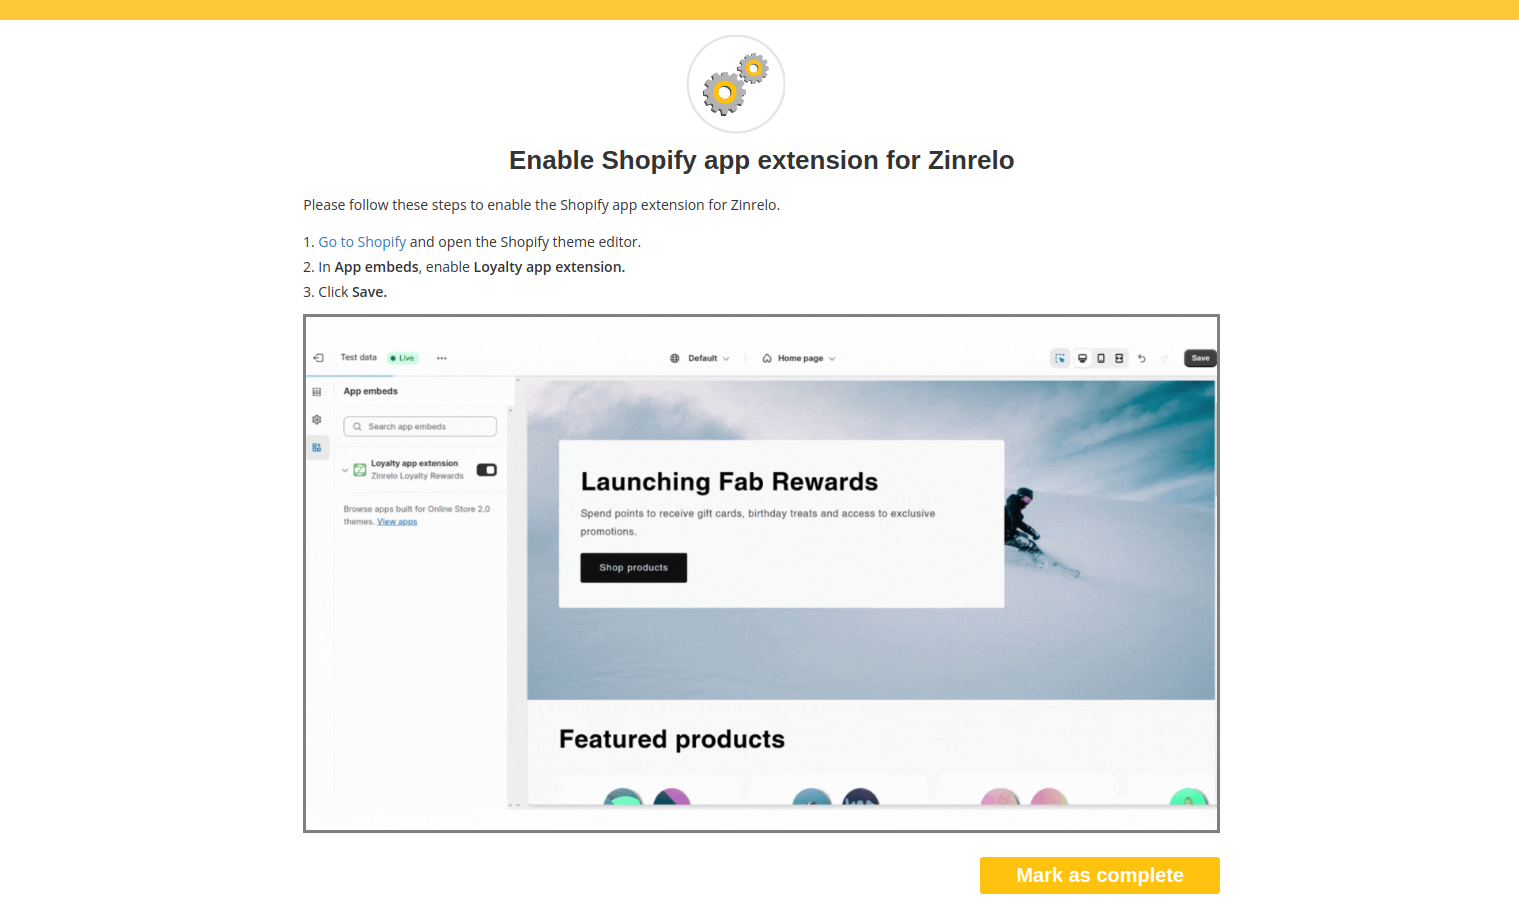
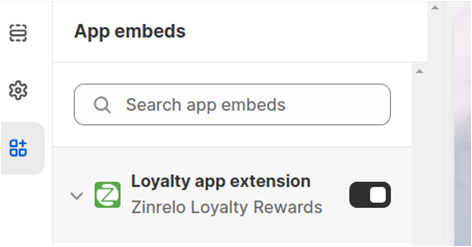
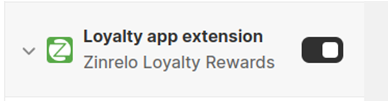
- Enable the "Loyalty app extension" toggle button, and remember to save your changes.
- Return to the Zinrelo admin app and click on the "Mark as complete" button.
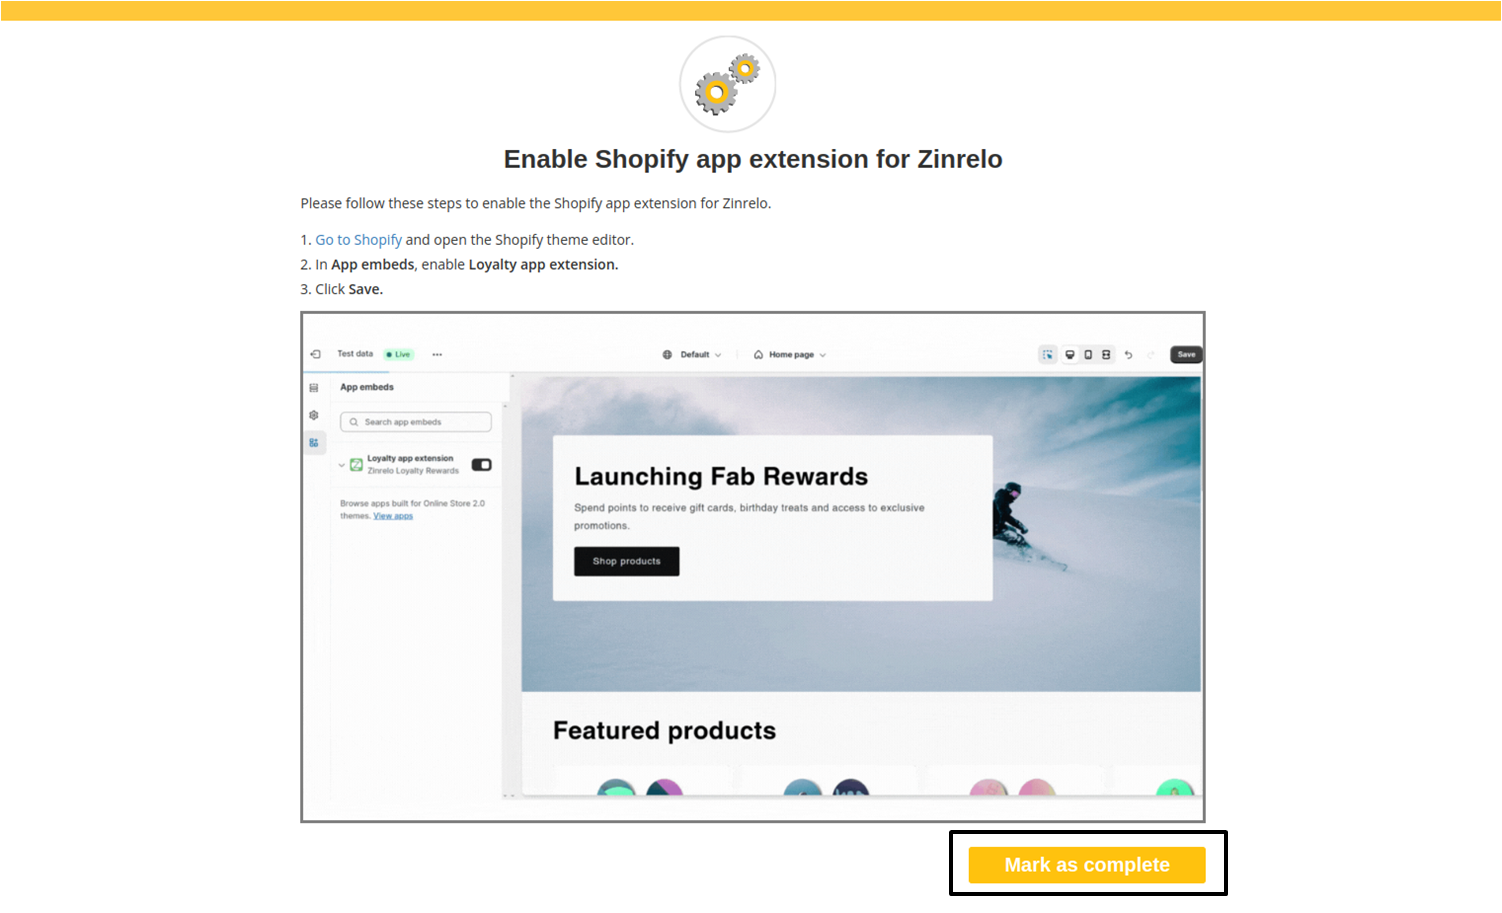
- This action will activate the "Launch and Preview" button. Preview your website, and when you're ready, click on the "Launch" button.
The integration of Shopify and Zinrelo is now complete.
Embed Dashboard
To embed the dashboard on your website, you need to add the section called "Embedded Dashboard" in the account page. To do so, follow these steps:
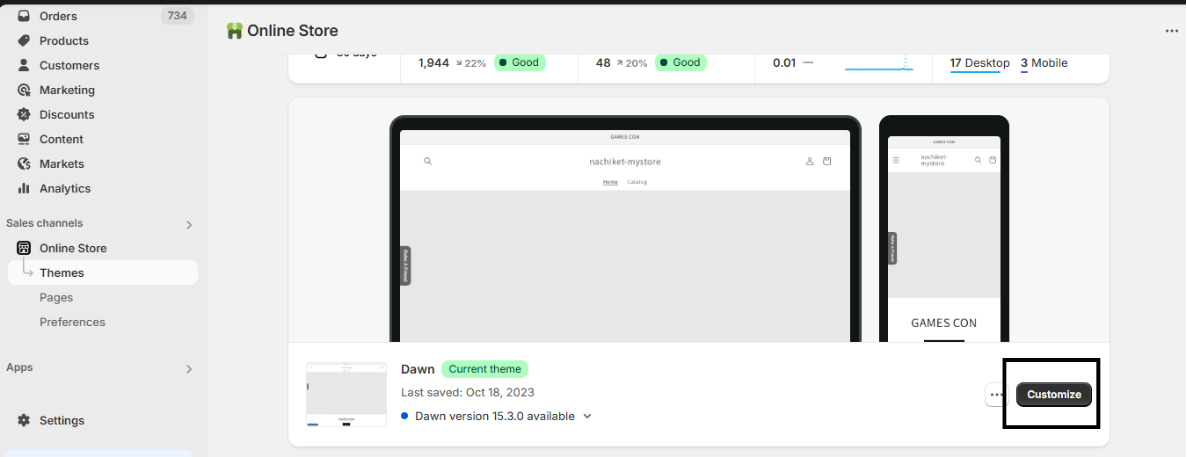
- Access your Shopify admin console.
- Navigate to Sales channels >> Online Stores >> Themes.

- After selecting the theme for your store, click on the "Customize" button for your current theme.
- From the dropdown menu, go to "Account."
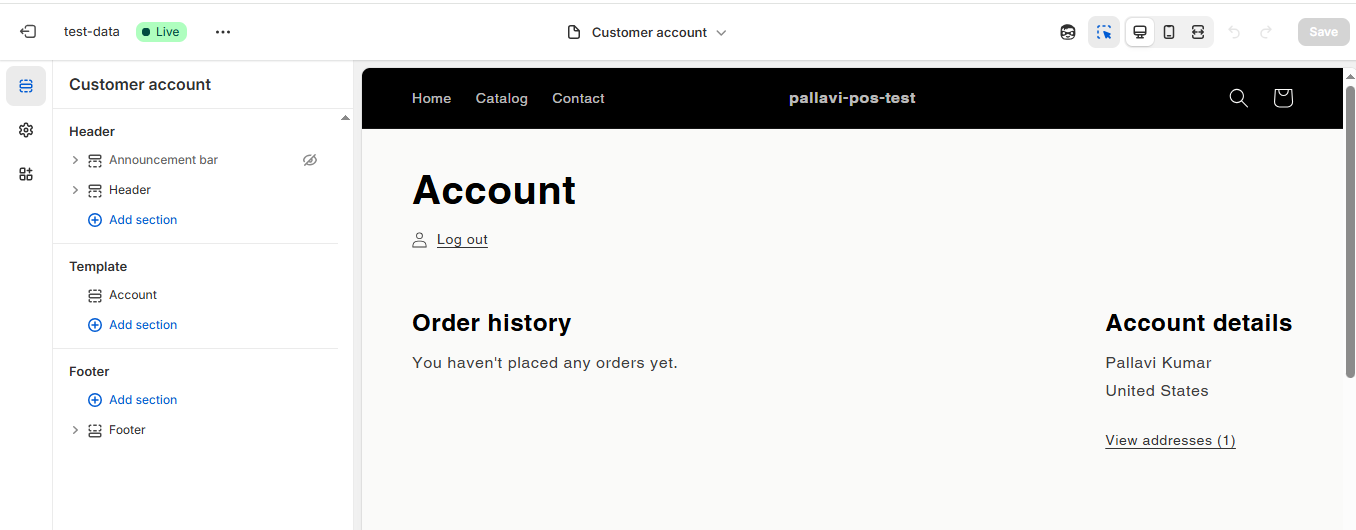
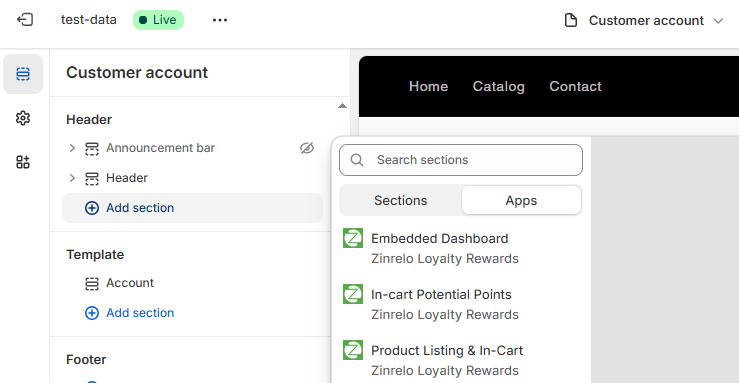
- In the header section, click on the “Add Section” button, and choose the “Embedded Dashboard” app.
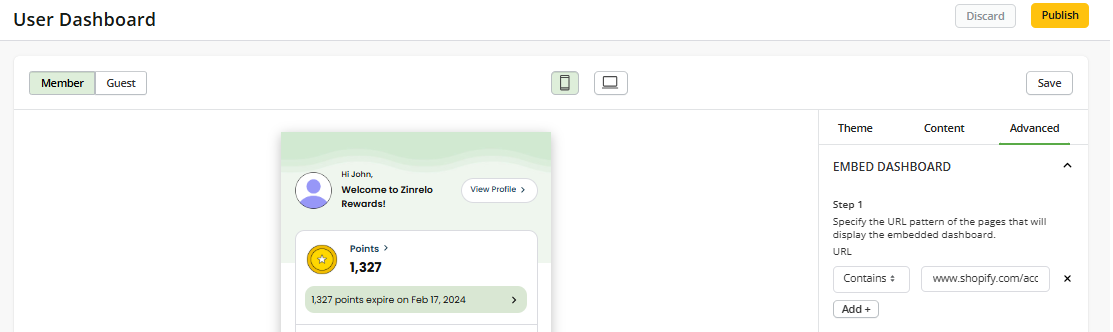
- Now go to Zinrelo Admin Console>> Design>> User Dashboard>> your live template.
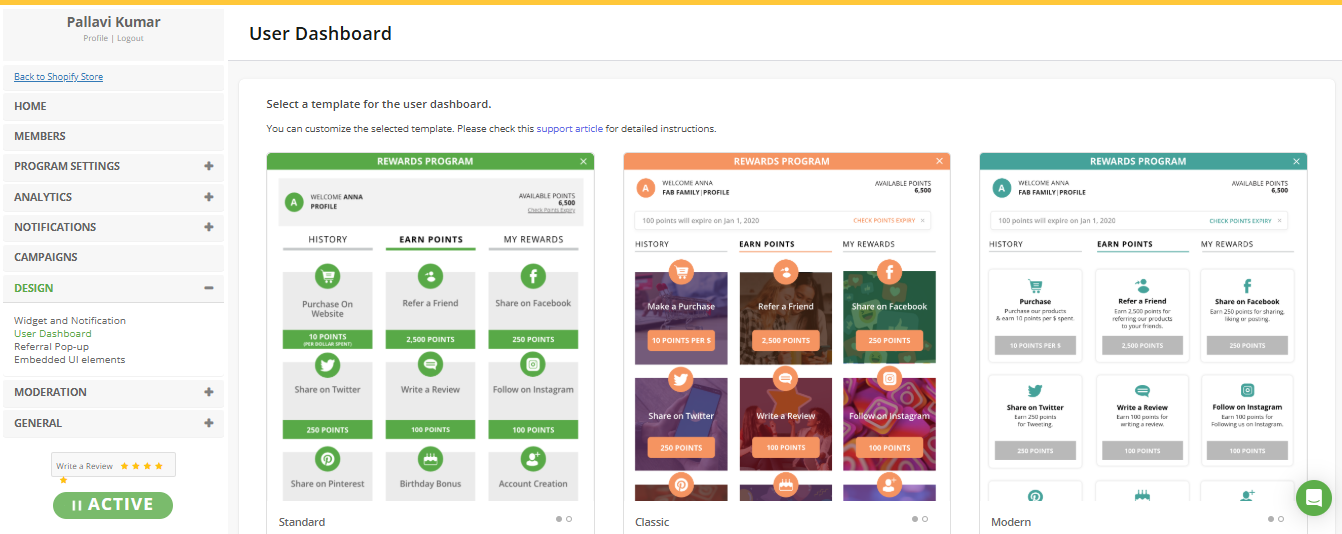
- Navigate to Advanced>> Embed Dashboard>> click on "Add" button. Enter the URL of the page where you want to embed the dashboard. And save.
Please Note:Even when you embed the dashboard on one page, you can still use the pop-up dashboard on other pages of your site. However, on one page, you can have either the embedded dashboard or the pop-up, not both. To know more, click here.
You have the flexibility to conditionally render the embedded dashboard. To achieve this, you can make changes to "Embed Liquid Code" block:
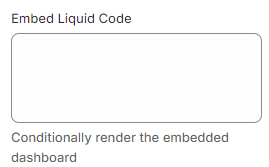
For example, to conditionally hide the embedded dashboard, insert the following Liquid code into the "Embed Liquid Code" block:
{%- if customer and customer.tags contains "opted_in" -%}
{% else %}

element = document.getElementById('zrl_embed_div');
element.style.display = 'none';
{%- endif -%}
Note: Be sure to replace the placeholder tag name with the actual tag.
Add tags to members:
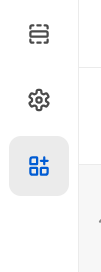
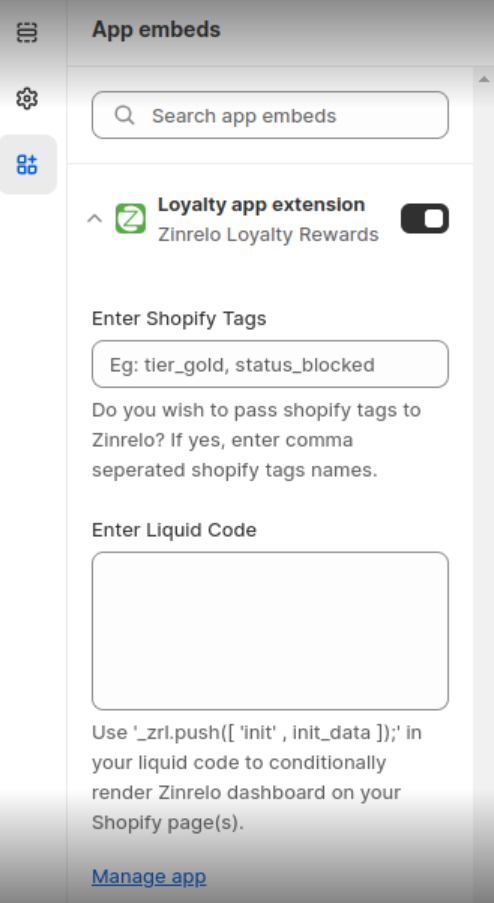
To add tags to members, click on “App embeds.”
You can pass Shopify tags to Zinrelo by adding comma-separated tags to “Enter Shopify Tags.”
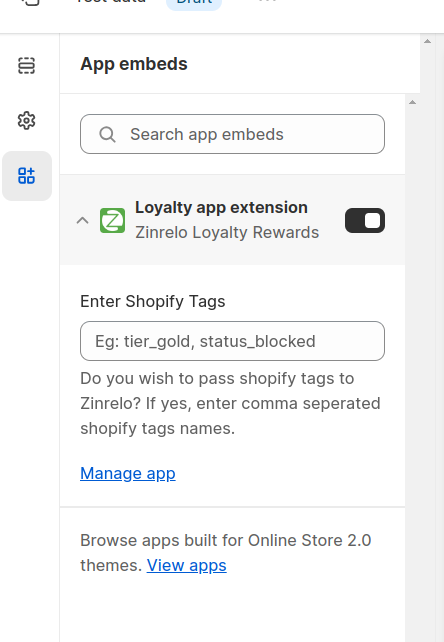
After making your changes, ensure that the “Loyalty app extension” toggle is activated.
Please note: Every time you customize the new theme, you must activate the “Loyalty app extension” toggle button.
Enter customizable liquid code
To conditionally render the Zinrelo Dashboard based on customer tags, follow these steps:
- Add liquid code in the "Enter Liquid Code" section.
- Here is the liquid code:
{% if customer.tags contains "opted_in" %}
 _zrl.push( [ 'init' , init_data ] );
{% endif %}
This code will make the End User Dashboard (EUD) visible to members with the "opted_in" tags assigned. Simply replace the tag "opted_in" with the actual tag to render the EUD conditionally based on your specific tag criteria.
Update member information
You can update member information using the below given snippet:
{% capture current_time_seconds %}{{ "now" | date: "%s" }}{% endcapture %}
// Please don't make any changes to the tag logic. This is the logic for "Enter Shopify Tags" for your Shopify store.

{% assign tags_list = "" %}
{% for tag in customer.tags %}
  {% if block.settings.check_tag contains tag %}
    {% assign tags_list = tags_list | append: '"' | append: tag | append: '",' %}
  {% endif %}
{% endfor %}
{% assign len = tags_list | size | minus: 1 %}
{% assign last_char = tags_list | slice: len, 1 %}
{% if last_char == "," %}
  {% assign tags_list = tags_list | slice: 0, len %}
{% endif %}

{%- comment -%}
// Assigning Member info
{%- endcomment -%}
{% assign member_id = customer.email %}
{% assign email_address = customer.email %}
{% assign exp_seconds = 1200 %}
{% assign custom_attributes = '{"shopify_customer_id":"' | append: customer.id | append: '"}' %}
{% assign member_tags = '[]' %}

{%- comment -%}
{%- endcomment -%}
{% if member_tags == '[]' and tags_list != "" %}
  {% assign member_tags = '[' | append: tags_list | append: ']' %}
{% endif %}

{% assign exp = current_time_seconds | plus: exp_seconds %}
{% assign zinrelo_api_key = '"' | append: shop.metafields.Zinrelo.zinrelo_api_configuration.value.api_key[0] | append: '"' %}

// Update member info. For more details, refer to the notes below.
{% capture user_info %}
{
  "member_id": "{{ member_id }}",
  "email_address": "{{ email_address }}",
  "exp": {{ exp }},
  "first_name": "{{ customer.first_name }}",
  {% if member_tags != '[]' and member_tags != '' %}
    "append__member_tags": {{ member_tags }},
  {% endif %}
  "custom_attributes": {{ custom_attributes }},
  "last_name": "{{ customer.last_name }}"
}
{% endcapture %}

{%- comment -%}
// Capture store details
// Make sure to not make any changes to the snippet below. Keep it as it is.
{%- endcomment -%}
{% assign zinrelo_api_key = zinrelo_api_key | replace: '"', "" %}
{% assign header = '{"alg": "HS256", "typ": "JWT"}' %}
{% assign encodedHeader = header | base64_encode | replace: '+', '-' | replace: '/', '_' | replace: '=', '' %}
{% assign encodedUserInfo = user_info | base64_encode %}
{% assign encodedPayload = encodedHeader | append: "." | append: encodedUserInfo %}
{% assign encodedPayload = encodedPayload | replace: "+", "-" | replace: "/", "_" | replace: "=", "" %}
{% assign hexSignature = encodedPayload | hmac_sha256: zinrelo_api_key %}

jwtPayload = "{{ encodedPayload }}";
jwtHexSignature = "{{ hexSignature }}";
base64JWTSignature = Base64EncodeUrl(hexToBase64(jwtHexSignature));
jwt_token = jwtPayload + "." + base64JWTSignature;

window._zrl = window._zrl || [];
var init_data = {
  "server": "https://app.zinrelo.com",
  "version": 'v2',
  "jwt_token": jwt_token,
  "partner_id": "{{ shop.metafields.Zinrelo.zinrelo_api_configuration.value['partner_id'] }}"
};

_zrl.push(['init', init_data]);
Please Note:
- You can append, overwrite, or remove member tags. For more details on member tags, refer to the snippet here.
- While editing custom attributes for your store, make sure to pass shopify_customer_id as well. Otherwise, customer ID from Shopify will not be stored in Zinrelo.
- To add and update more member information, refer to the snippet here.
Adjust the size of the dashboard
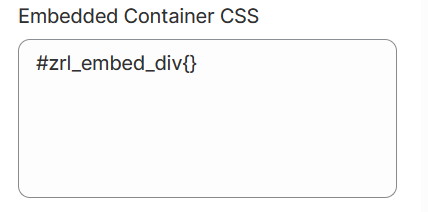
To make your dashboard responsive, click on the “Embedded Dashboard” section that has been added to the page.
Add custom CSS here to make your dashboard responsive. Also, make sure you enable the embed settings in the Zinrelo admin console. To know more, click here.
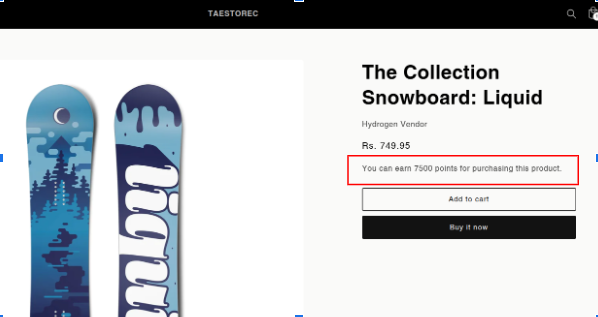
Display Product Points in the Product Page
You can show product points that a customer can earn, such as opportunities to earn points, the chance to earn double or triple points on Mother’s Day weekend, and more. This will entice customers to make purchases and earn points.
To enable this feature, you need to add the section called "Product Listing & In-Cart" in the product listing page. To do so, follow these steps:
- Access your Shopify admin console.
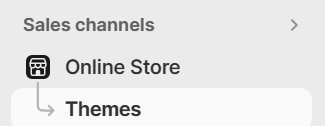
- Navigate to Sales channels >> Online Stores >> Themes.

- After selecting the theme for your store, click on the "Customize" button for your current theme.
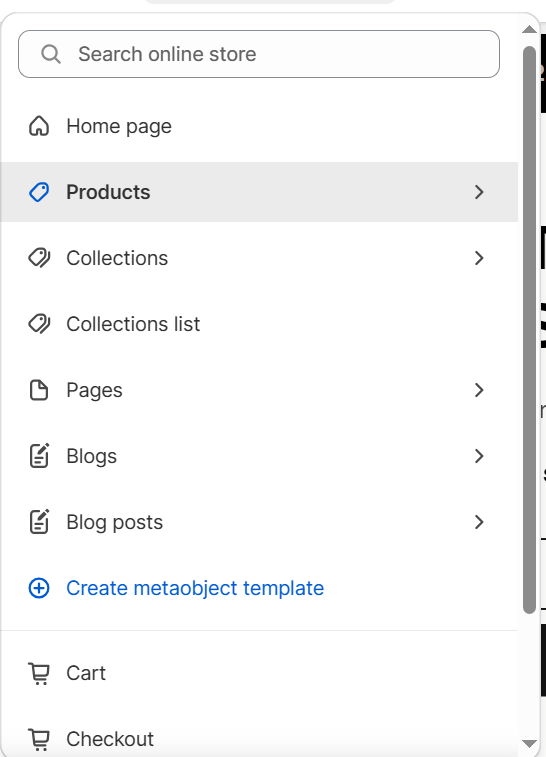
- From the dropdown menu, select “Product Page.”
- In the header section, click on the “Add block” button, and choose the “Product Listing & In-cart” app.

This will showcase the product points on the product listing page.

You have the flexibility to customize the product points information and details displayed on the product page. To achieve this, you can make changes to "Product Page Liquid Code" block:
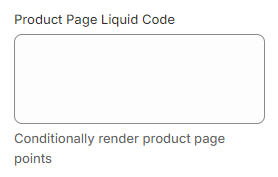
For example, to conditionally hide points on the product page, insert the following Liquid code into the "Product Page Liquid Code" block:
{%- if customer and customer.tags contains "opted_in" -%}
{% else %}

element = document.getElementById('zrl_extension_product_div');
element.style.display = 'none';
{%- endif -%}
Note: Be sure to replace the placeholder tag name with the actual tag.
Display Potential Points in the cart page
You can display the potential points a member can earn through products in the cart page. To enable this feature, please follow the provided steps:
You need to add the section called "Points on cart-page" in the cart page.
- Access your Shopify admin console.
- Navigate to Sales channels >> Online Stores >> Themes.
- After selecting the theme for your store, click on the "Customize" button for your current theme.
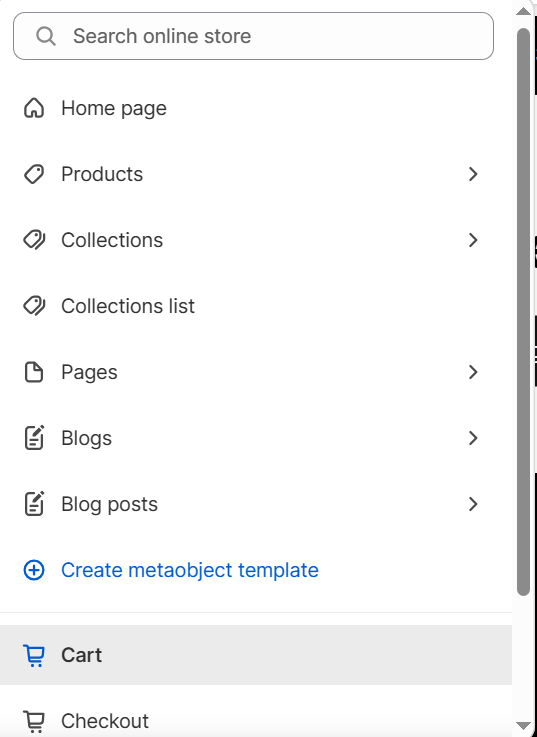
- From the dropdown menu, select “Cart Page.”
- In the header section, click on the “Add Section” button, and choose the “In-cart potential points” app.

This will showcase the potential points a member can earn through product prices in the cart page.

You have the flexibility to customize the potential points information and details displayed on the cart page. To achieve this, you can make changes to "Potential Points Liquid Code" block:

For example, to conditionally hide potential points on the cart page, insert the following Liquid code into the "Potential Points Liquid Code" block:
{%- if customer and customer.tags contains "opted_in" -%}
{% else %}

element = document.getElementById('zrl_extension_cart_potential_point_div');
element.style.display = 'none';
{%- endif -%}
Note: Be sure to replace the placeholder tag name with the actual tag.
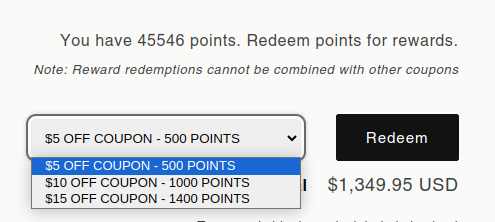
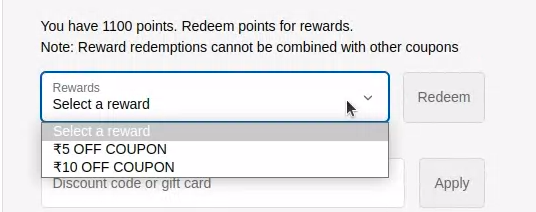
Show In-cart Redemption
You can display the available rewards of the members in their shopping cart without requiring them to leave the purchase flow. The in-cart redemption of rewards is integrated into the payment page during the checkout process. To enable this feature, please follow the provided steps:
You need to add the section called "Product Listing & In-Cart" in the cart page.
- Access your Shopify admin console.
- Navigate to Sales channels >> Online Stores >> Themes.
- After selecting the theme for your store, click on the "Customize" button for your current theme.
- From the dropdown menu, select “Cart Page.”
- In the header section, click on the “Add Section” button, and choose the “Product Listing & In-cart” app.
This will showcase the available rewards of the members in the cart page.
Add custom CSS here to make your dashboard responsive. Also, make sure you enable the embed settings in the Zinrelo admin console. To know more, click here.
Text Configuration
You have the flexibility to customize the product information and details displayed on both the product and in-cart pages. To achieve this, please follow the steps provided below for a smooth configuration:
Before we start, you have to click on the “Product Listing & In-cart” section that has been added to the product and in-cart page.
You will be redirected to a page where you can customize the text on the page.
Edit potential points and product details:
Go to “Product Points Display Text” to edit the product information in the product page.
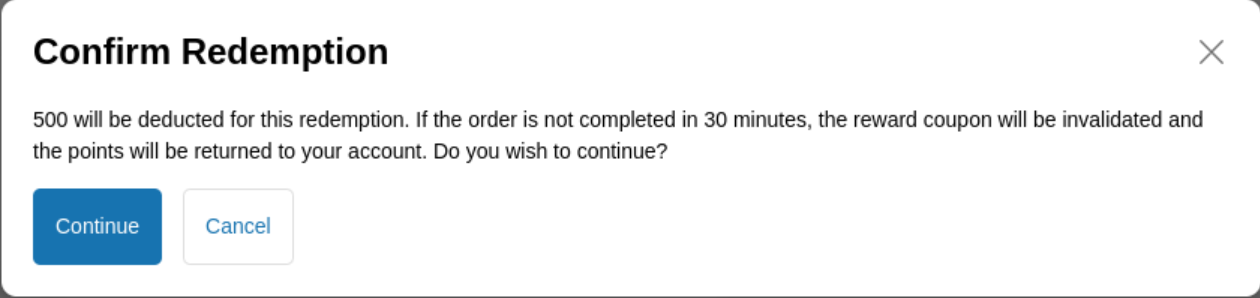
Edit Confirm Redemption text box:
To edit the text of the redemption confirmation pop-up, you can edit the following fields:
- Cancel Redemption Time Interval: Takes time input in seconds for the validity period of a redeemed coupon.
- Redemption Pop-up Header Text: Takes input for the heading text on confirming redemption of a coupon modal pop up.
- Redemption Pop-up Info Text: Takes input for the body text on confirming redemption of a coupon modal pop up.
- Cancel Redemption Button text: Takes input for the button text to cancel redemption of the selected coupon on modal pop up.
- Continue Redemption Button Text: Takes input for the button to continue with the redemption of the selected coupon on modal pop up.

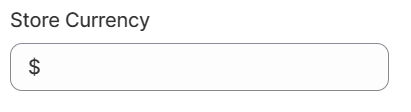
Enter store currency:
To specify the currency, enter the store currency into the "Store Currency" field.
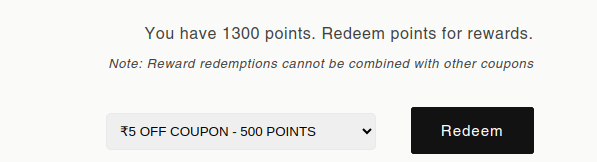
Edit in-cart redemption text box:
To edit the in-cart redemption text, you can edit the following fields:
- Available User Points Info Text: Takes input for the text client wants to display for users to redeem rewards with their available points.
- In-cart Redemption Note Text: Takes input for the text client wishes to display as a note for the users regarding redeeming a reward.
- Redeem Button Text: Takes input for the button which is displayed next to the rewards dropdown used to redeem rewards selected by the user.
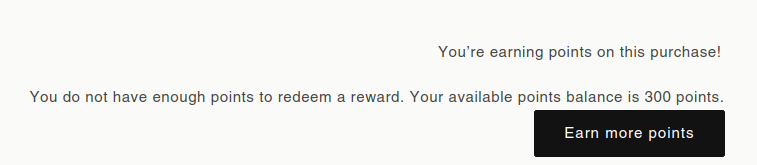
Edit in-cart insufficient text box:
This text box becomes visible when members are earning points for a purchase but do not have enough points to redeem any rewards. If you wish to make changes to the text, you can do so by modifying the fields provided below:
- Product Points Display Text: Takes input for the text that client wants to display when the user is earning points for that purchase.
- In-cart Insufficient Points Txt: Takes input of the text client wishes to display when users do not have enough points to redeem any rewards.
- Earn More Points Button Text: Takes input for the button text which is displayed when users do not have enough points. The button when clicked opens Zinrelo EUD.
Checkout Page Extension
The ability to display Potential Product Points and Redemptions on the checkout page is available exclusively for Shopify Plus users.
To enable this feature, you must configure the CORS settings in your Zinrelo Admin Console. Follow these steps:
- Log in to your Zinrelo Admin Console.
- Navigate to General >> Settings >> CORS Settings.
- Add the following URL to the existing Allowed Origins list:
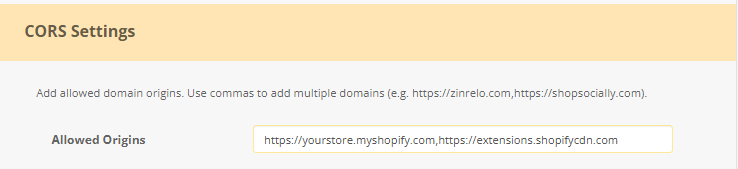
- Save the settings.
Display Potential Product Points
You can show potential product points that a customer can earn on the checkout page. This will entice customers to make purchases and earn points.
To enable this feature, you need to add the section called "Checkout Extension" in the product listing page. To do so, follow these steps:
- Access your Shopify plus admin console.
- Navigate to Sales channels >> Online Stores >> Themes.
- After selecting the theme for your store, click on the "Customize" button for your current theme.
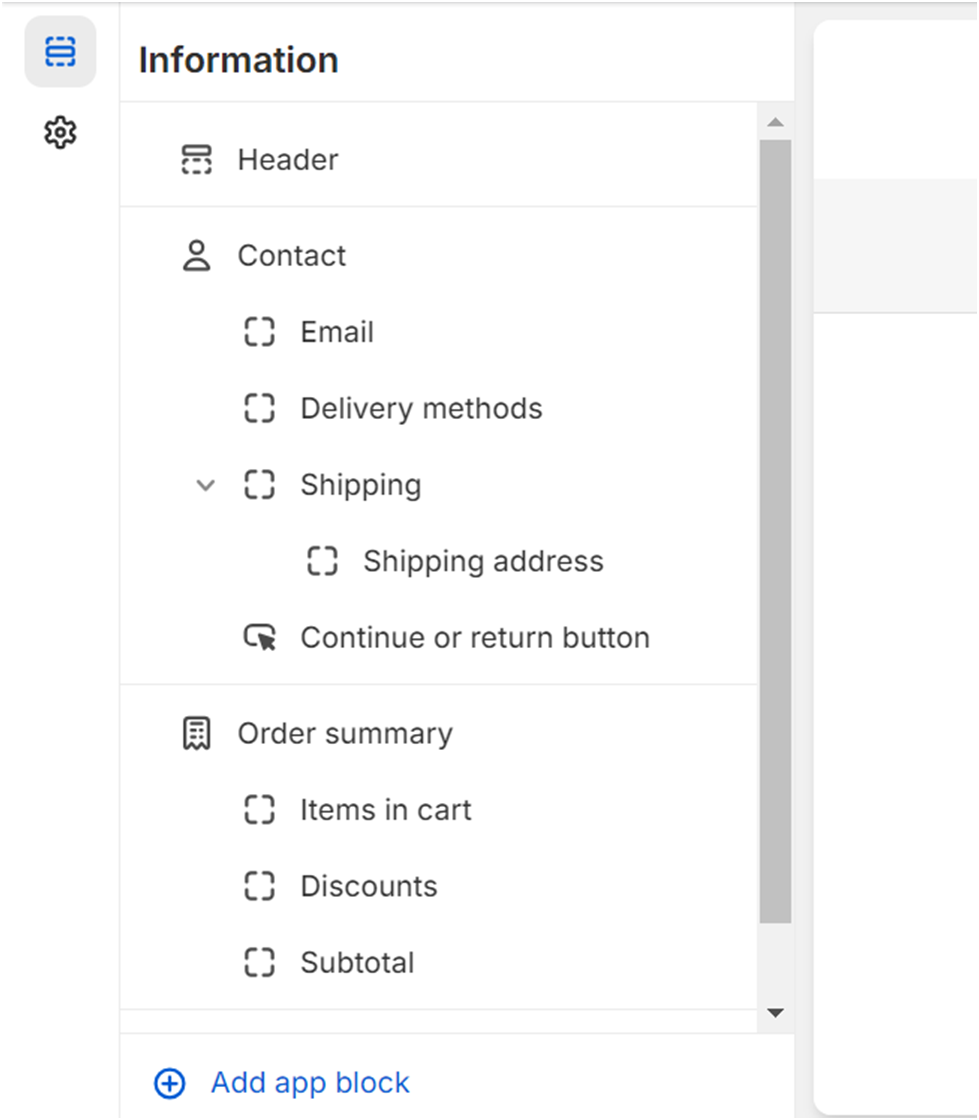
- From the dropdown menu, select “Checkout.”
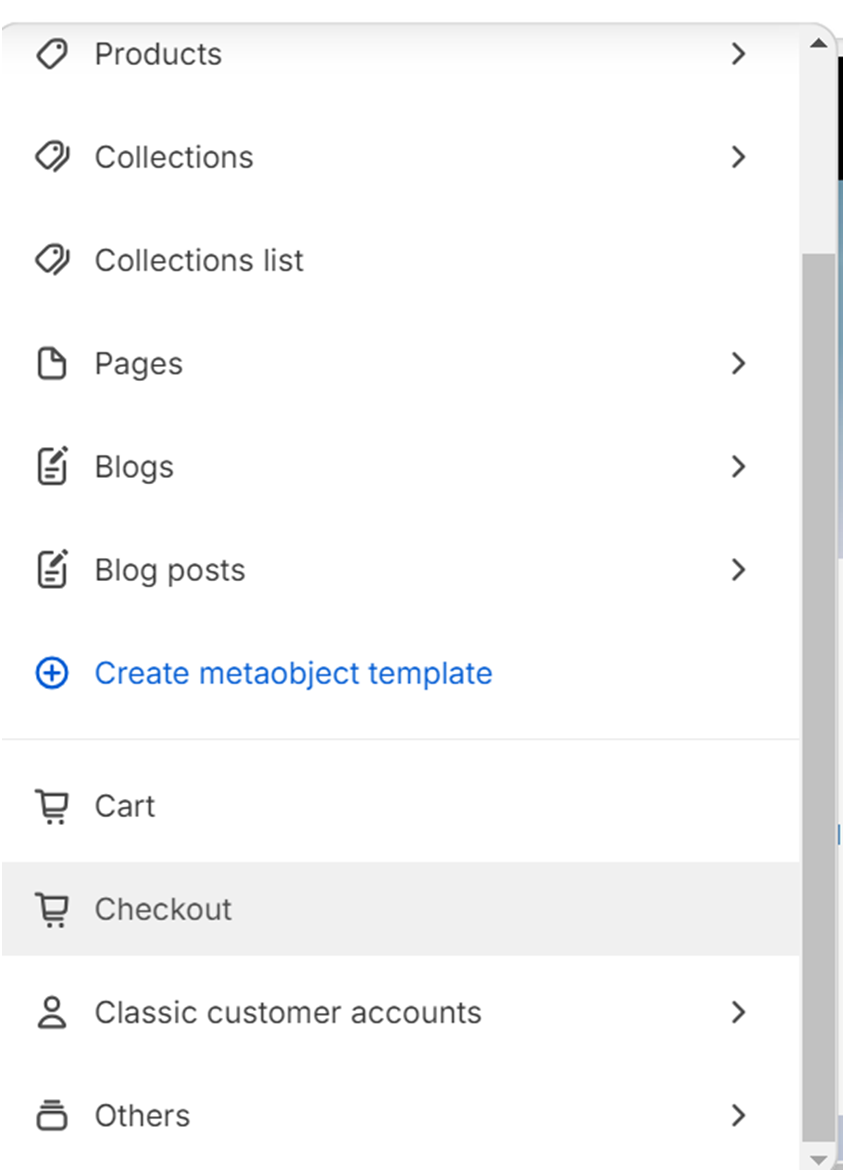
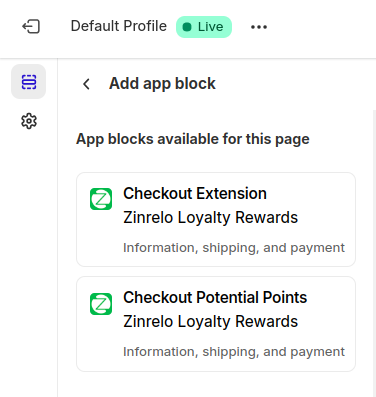
- Click on the “Add app block.” And select “Checkout Potential Points.”
- Edit the text in the Potential Points Display text box (if required) and click on the save button. Make sure you mention "[[ data-zrl-potential-earning-point ]]" with the text. As it will fetch and show the potential points to be earned on that purchase.

At any point of time, you wish to replace the potential point text, click on “remove app from checkout.”
Show Checkout Redemption
You can display the available rewards of the members in their checkout page without necessitating them to leave the purchase flow. To enable this feature, please follow the provided steps:
You need to add the section called "Checkout Extension" in the cart page.
- Access your Shopify plus admin console.
- Navigate to Sales channels >> Online Stores >> Themes.
- After selecting the theme for your store, click on the "Customize" button for your current theme.
- From the dropdown menu, select “Checkout.”
- Click on the “Add app block.” And select the “Checkout Extension” app block.
This will showcase the available rewards of the members in the checkout page.

Enabling Shop Pay
Follow these steps to enable Shop Pay and integrate it with your store:
- Enable Shop pay for your store.
- Navigate to the Checkout Extension section in your store's theme settings.
- Add the checkout extension and in the "Checkout Behavior" settings, enable the option "Include app block in Shop Pay."
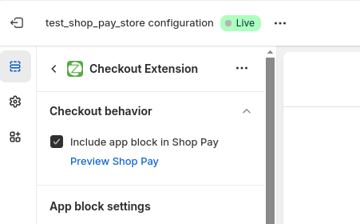
- Click "Save" to apply the changes.
Please Note:Customers must be logged into their Shopify account to use Shop Pay for redeeming points.
Text Configuration
To configure text in the "Checkout Extension," click on the app block.
Before we begin, it's crucial to note that each text box already has default text configured.
Potential points text box:
Checkout Redemption Info Text: Takes input for the text on showing potential points of the member.

Edit in-cart redemption text box:
To edit the in-cart redemption text, you can edit the following fields:
Available User Points Info Text: Takes input for the text client wants to display for the member to redeem rewards with their available points.
Note: Make sure you mention "[[ data-zrl-points ]]" with the text. As it will fetch and show the available points of the member.
Redemption Note Text: Takes input for the text the client wishes to display as a note for the member regarding redeeming a reward.
Redeem Button Text: Takes input for the button which is displayed next to the rewards dropdown used to redeem rewards selected by the member.
Edit in-cart insufficient text box:
This text box becomes visible when members are earning points for a purchase but do not have enough points to redeem any rewards. If you wish to make changes to the text, you can do so by modifying the fields provided below:
Insufficient Points Text: Takes input of the text client wishes to display when members do not have enough points to redeem any rewards.
Note: Make sure you mention "[[ data-zrl-points ]]" with the text. As it will fetch and show the available points of the member.
Earn More Points Button Text: Takes input for the button text which is displayed when members do not have enough points. The button when clicked opens Zinrelo EUD.

Edit Confirm Redemption text box:
To edit the text of the redemption confirmation pop-up, you can edit the following fields:
Coupon Expiry Time (Seconds): Takes time input in seconds for the validity period of a redeemed coupon.
Redemption Pop-up Header Text: Takes input for the heading text on confirming redemption of a coupon modal pop up.
Cancel Redemption Button text: Takes input for the button text to cancel redemption of the selected coupon on modal pop up.
Continue Redemption Button Text: Takes input for the button to continue with the redemption of the selected coupon on modal pop up.
Redemption Pop-up Info Text: Takes input for the body text on confirming redemption of a coupon modal pop up.
Note: Make sure you mention "[[ zrl-redemption-points ]]" with the text. As it will fetch and show the points to be deducted on the redemption.
Update Member Identifier
Member Identifier: Pass either Shopify customer email or customer ID that you want to use as Zinrelo member_id.
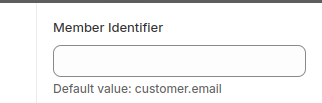
Note: By default, the Shopify customer email is set as the member identifier.
Hash Member Identifier: Hash the member identifier value by selecting "True". Hashing is only permitted when the member ID in Zinrelo is configured to be hashed.
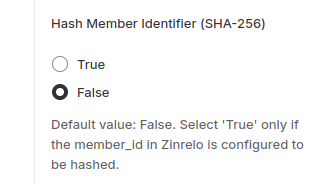
Note: By default, the value is set to "False."
Please Note:The features for updating the member identifier and hashing the member identifier are available in both the Checkout Extension and Checkout Potential Points app blocks.
Integrated plugin features
Requirement | Description | Availability |
|---|---|---|
Member identifier customization | Can we customize a member's unique identifier to use alternatives such as Customer ID, GUID, Phone Number, or other unique fields instead of an email address? | Yes |
Purchase Tracking | The Purchase tracking passes the data for each purchase to Zinrelo. This enables Zinrelo to award points for purchases. | Yes |
Purchase Tracking on - Shipped/Order/Fulfilled (only completed/paid orders are tracked) | This is when points are awarded to members—when the product is ordered, shipped, or fulfilled. | Yes |
Return Tracking | The Return tracking passes the data for each return to Zinrelo. These returns are correlated against an earlier corresponding purchase. This Returns Tracking enables Zinrelo to deduct points for returned purchases. | Yes |
Checkout Page Rewards/In cart Reward | The member available rewards shown in the cart page. | Yes |
Coupon codes for rewards | The coupon codes are auto-generated for redeeming the rewards. | Yes |
Please Note:
- These features are integrated through plugins. If you want to incorporate additional features into your cart beyond these, please reach out to your account manager.
- We utilize Shopify's Compliance Webhooks- customers/data_request, customers/redact, and shop/redact. When a member is deleted in the Shopify store, they are automatically deleted from the Zinrelo instance as well. For more information, refer to this document.
Updated 2 months ago