
Mailchimp Integration
Introduction
Mailchimp is an email marketing platform specifically designed for online businesses, offering powerful email and SMS marketing automation capabilities. Zinrelo integrates seamlessly with this platform, simplifying the process for Zinrelo customers to organize their email marketing campaigns in conjunction with their loyalty program details.
Integration Process
To synchronize loyalty program details in Mailchimp, you will need to share the below details:
- Mailchimp API key
- Mailchimp list ID
- Mailchimp Base URL
How to obtain an API key from Mailchimp?
Follow these steps to obtain your API key from Mailchimp:
Please Note:The current Mailchimp integration works by using the member's email address as a unique identifier.
- Click your profile icon and choose Profile.
- Click the Extras drop-down and select API keys.
- In the Your API Keys section, click Create A Key.
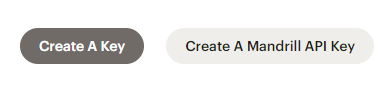
- Name your key descriptively so you can easily identify it. Then click Generate Key.
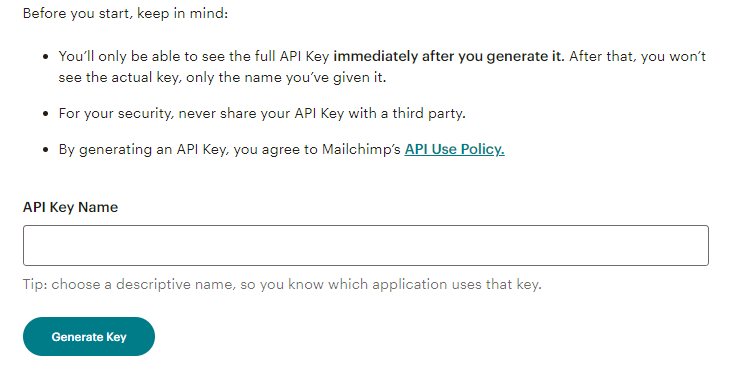
- Once the key is generated, click Copy Key to Clipboard. Save your key in a secure place.
Please Note:You won’t be able to view or copy the API key again. If lost, you will need to generate a new key and update any integration using it.
- Click Done.
How to obtain a Mailchimp List ID?
To obtain an existing List ID, navigate to Audience >> Audience Dashboard >> Manage Audience >> View Audiences.
- Click on the Audience Name.

- This will redirect you to the new window from where you can drive the List ID. Store the ID and share with us.

For instructions on how to create a new list, please refer to this help document.
Please Note:List is also referred as audience in Mailchimp.
Please share these details- Mailchimp API key and Mailchimp list ID with your account manager at [email protected].
Monitor Loyalty Member Integration Status
Once integrated with Mailchimp, Zinrelo will start syncing the loyalty member data and event data to Mailchimp. To check loyalty members added from Zinrelo to Mailchimp after integration setup, follow these steps:
- Log in to your Mailchimp account.
- Navigate to Audience >> All contacts.

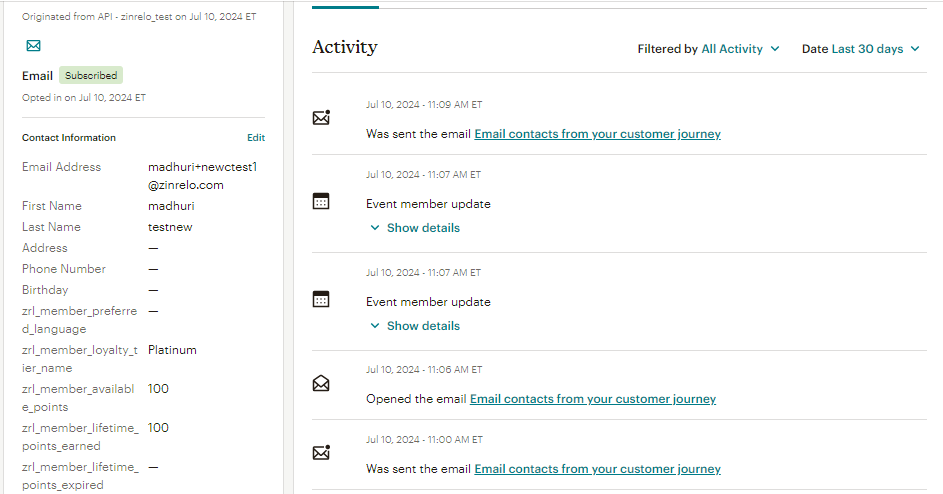
- For a detailed view of a member, click on the member's name.
- Contact Information: This section contains all member and transaction attributes, updated in real-time with any activity.
- Activity: This section provides details of all performed loyalty activities, including email statuses.
For a detailed view of member and transaction attributes with event details, refer to this document.
Please Note:
- Member attributes mentioned in this excel sheet needs to be created in Mailchimp.
- These data will be available as merge tags to use in Mailchimp emails.
How to add merge tags in Mailchimp?
- Login to your Mailchimp account.
- Click on Audience -> Tags -> Settings -> Audience fields & MERGE tags option.
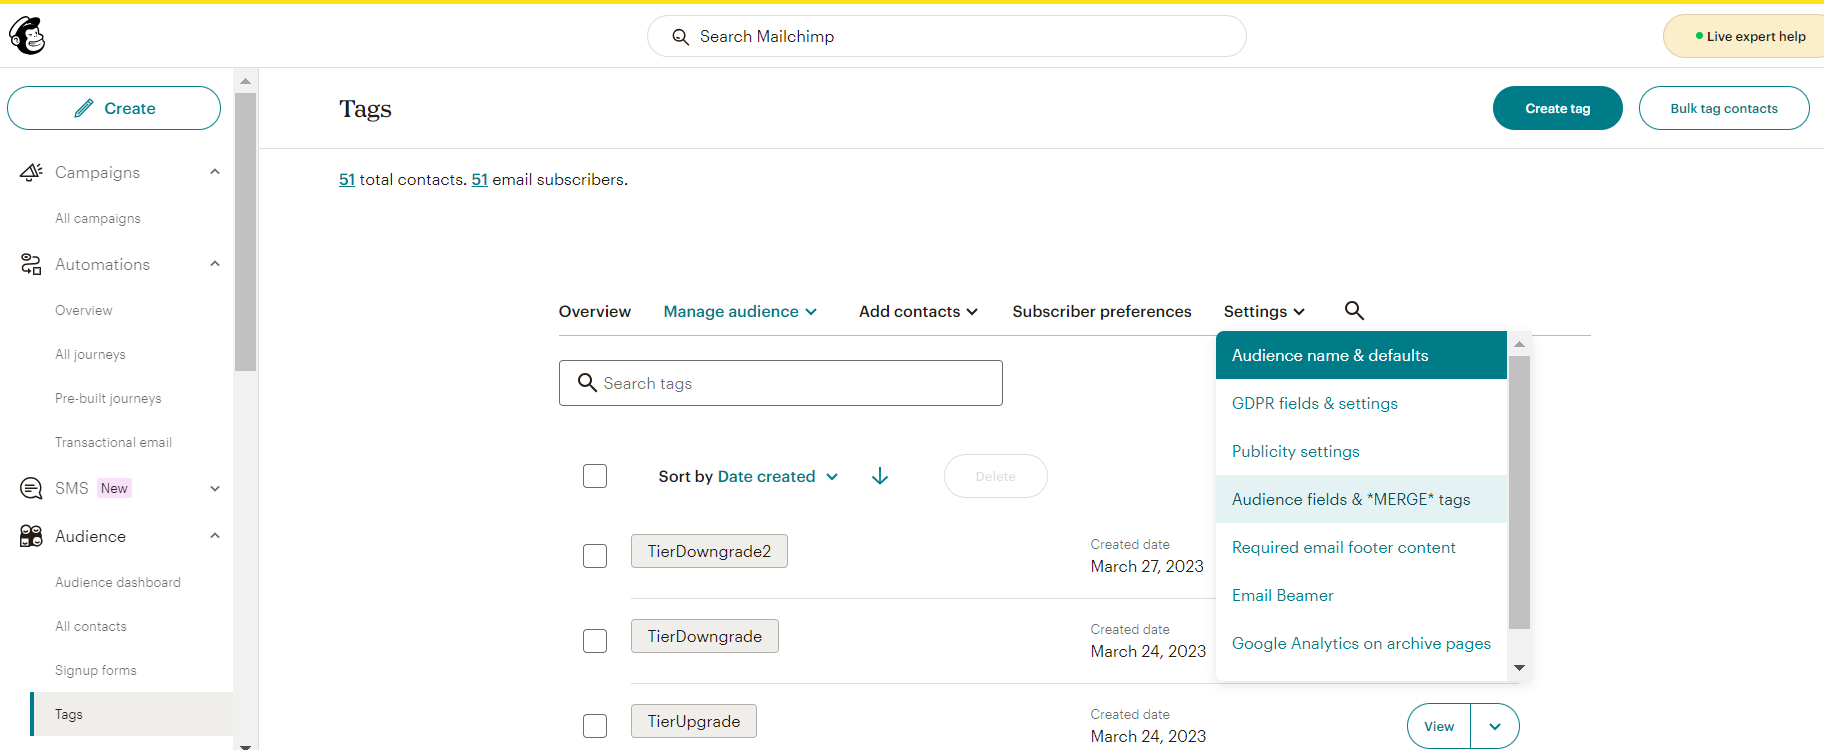
- Click on Add a field. Select required field format, add field name as given in the the document. & Save.

Journey Creation
This integration allows you to send out emails using Mailchimp Journeys that include loyalty members attributes and transaction attributes. For every loyalty program email you want to send through Mailchimp, create a corresponding journey.
Here’s how to create a journey using loyalty events in Mailchimp:
- Go to Automations >> All Journeys.
- Click on Build from scratch.
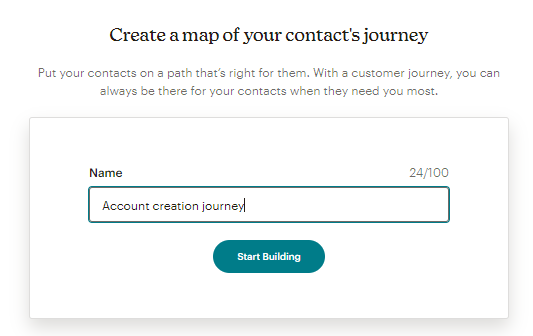
- Name the journey and start building.
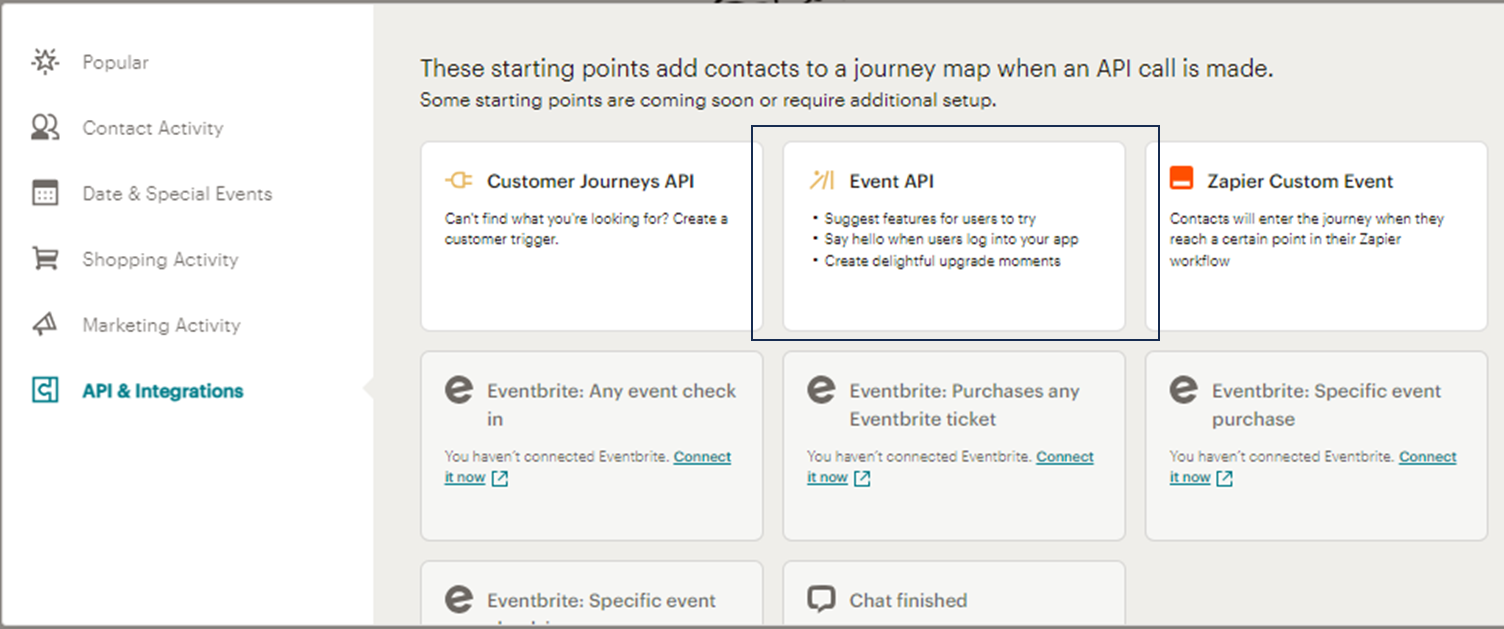
- Click on Choose a starting point and select API & Integrations >> Event API.
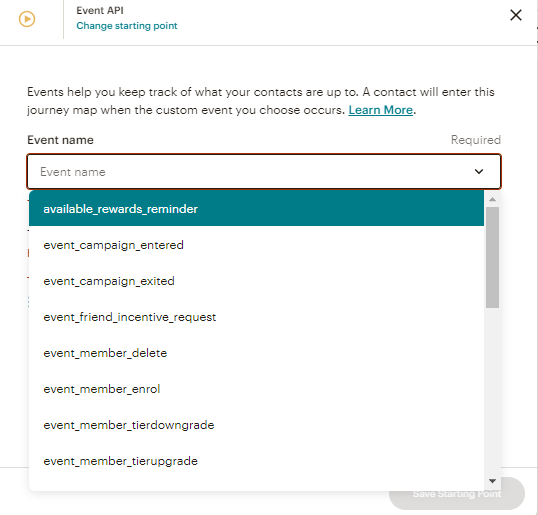
- From the list of event names, select the event for which you want to create a journey.
Note: As per your use case, you can build a journey for any of the loyalty events listed in the document. All event names will be created by Zinrelo at the time of integration.
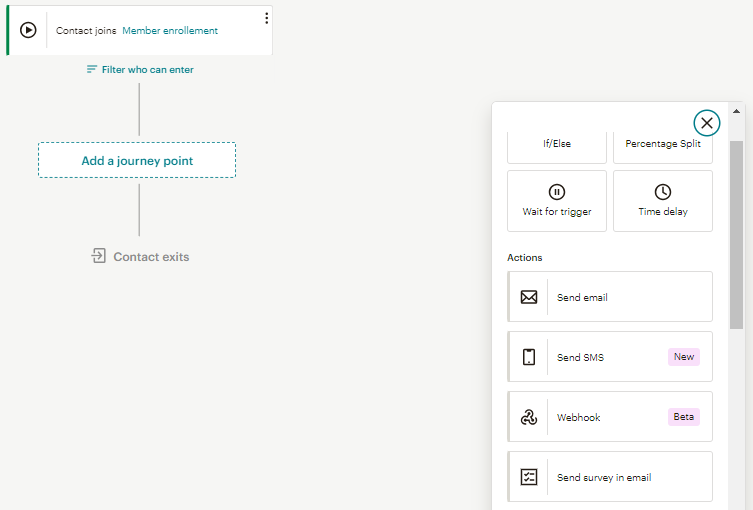
- Click on Add a journey point and select Send email from actions.
Email Configuration
-
Enter the initial details:
- To and From: Enter the email addresses for the sender and recipient.
- Subject: Provide an attractive subject line for your email.
- Schedule: Schedule the email to be sent immediately or at a specified time.

-
Select the email template:
- If you have a prepared template, select it. Otherwise, start from scratch.
-
Configure the email template:
- To add member attributes to the email template, insert |FNAME|. Replace the field name such as “FNAME” with the desired field name in the same format (||). Refer to this document for the field names.
- To add transaction attributes to the email template, insert |EVENT:zrl_txn_points_awarded| into the text, replacing the text after "event" with the desired field name. Refer to this document for field names.
Once the configuration is complete, click Continue and then Turn On to activate the journey.
You can view your journey status under Automations >> All Journeys.
Updated 2 months ago