
Campaign Configuration
This document will cover campaign types and their configuration.
Introduction
The campaign feature in Zinrelo loyalty program is a versatile tool designed to create targeted promotions and offer bonus points to specific members, enhancing customer engagement and retention. This document will guide you through the process of configuring and utilizing campaigns within the Zinrelo platform, helping you leverage its full potential to boost your business's success.
For campaign use cases, refer to this document.
Configuration
- Click on the Campaign Tab within the Zinrelo admin console.
- Click on the “Create Campaign” button.

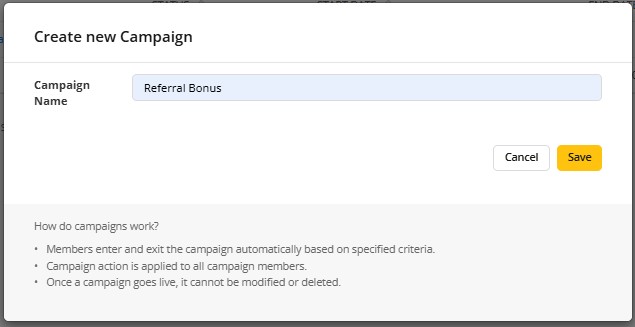
- Name the campaign and click on the “Create” button.
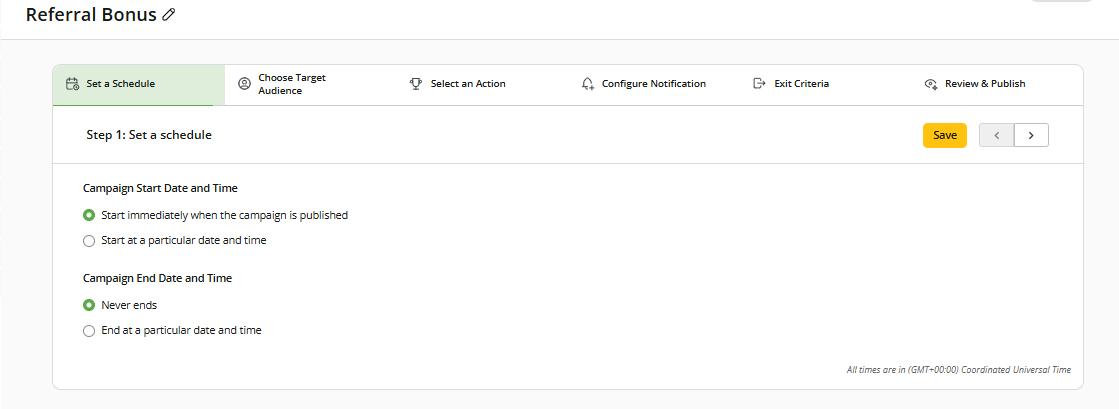
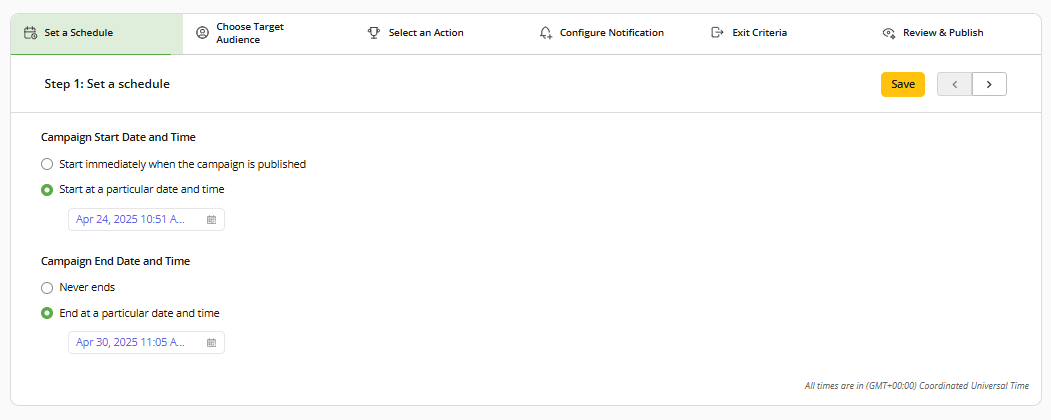
Step 1: Set a schedule
In this setting, you have to define when and how long the campaign will run.
-
Campaign Start Date and Time: Define when the campaign will start.
- Start immediately when the campaign is published: If selected, the campaign will start immediately after it is published.
- Start at a particular date and time: Here you can define the particular date and time on which the campaign will start.

-
Campaign End Date and Time: Define when the campaign will end.
- Never ends: If selected, the campaign will never end.
- End at a particular date and time: Here you can define the specific date and time when the campaign will end.
Once done with this setting, click on the “Save” button. Click on the Next arrow button to proceed to the next setting.
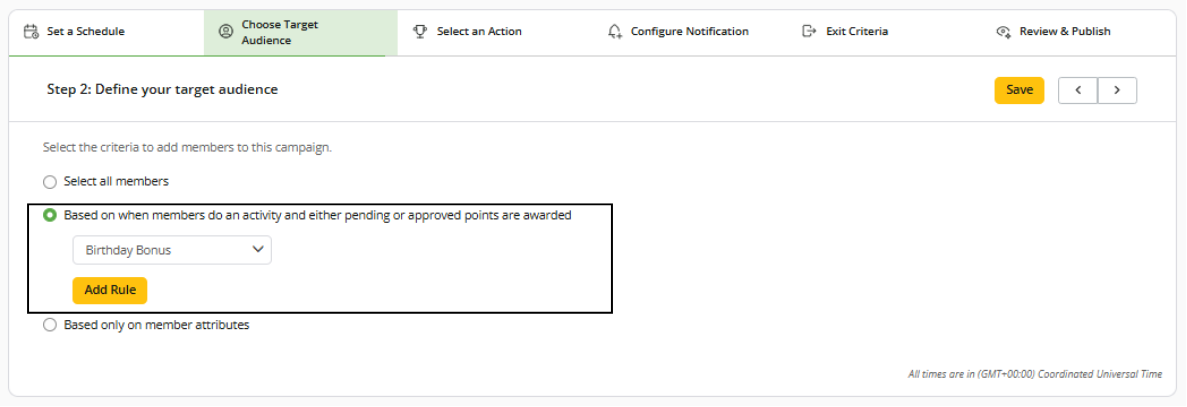
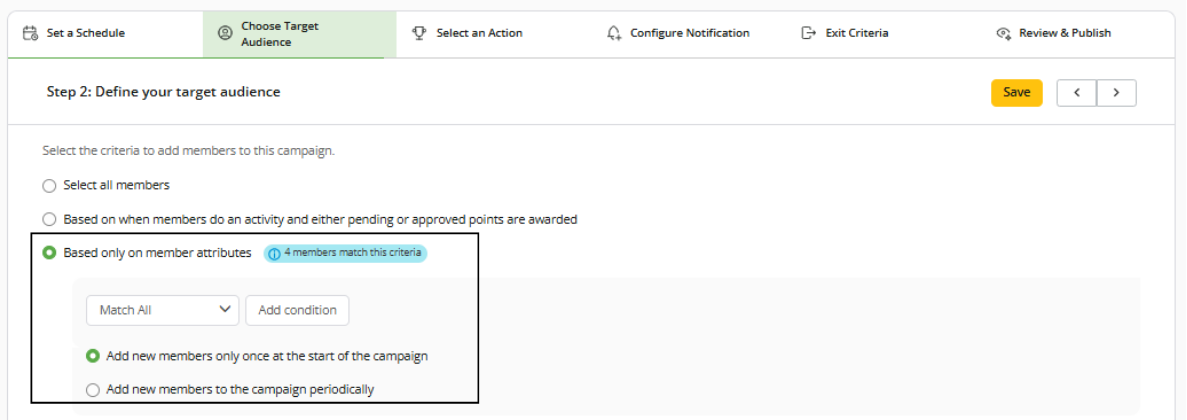
Step 2: Define your target audience
In this setting, you need to select the criteria to add members to the campaign..
- Select all members: If you want all members to be part of the campaign, select this. You can further define when new members will be added to the campaign:
- Add new members only once at the start of the campaign: All current members of the program will be added to the campaign when it starts. No new members will be added after the campaign has started.
- Add new members to the campaign periodically: This option allows you to add members to the campaign on a recurring basis. You can select a specific period (e.g., daily, weekly, monthly, yearly) during which both existing and new members who join the program will be added to the campaign. This ensures that all members of the program are included in the campaign over time.

- Based on when members do an activity and either pending or approved points are awarded: Members will be added to the campaign only when they perform the selected activity. In addition to this, you can further segment the members by adding a rule.
Please Note:
- Each of the rules added in "Based on when members do an activity" will be executed independently.
- Entry in the campaign will not be dependent on points earned. It will depend on the member performing an activity that matches certain filters. So even if there is an exclusion rule for earning points, a member could still become part of a campaign.
- Based only on member attributes: You can filter members based on attributes and add those particular members to the campaign. You can further define when members will be added to the campaign:
- Add new members only once at the start of the campaign: All members of the program who satisfy the given condition will be added to the campaign when it starts. No new members will be added after the campaign has started.
- Add new members to the campaign periodically: This option allows you to add members who satisfy the given condition on a recurring basis. You can select a specific period (e.g., daily, weekly, monthly, yearly) during which members will be added to the campaign. This ensures that all members satisfying the condition are included in the campaign over time.
Once done with this setting, click on the “Save” button. Click on the Next arrow button to proceed to the next setting.
Step 3: Select an action
In this setting, you need to select an action to be taken for members that are in the campaign.
- Enable Special Reward: Rewards created in this campaign will be available only to segmented users for the duration of the campaign. You can also hide rewards from some members through "Manage Rules." Click here to know how to configure, manage, and hide rewards for specific members.
Note: The special rewards will be visible to everyone unless an exception rules are set.
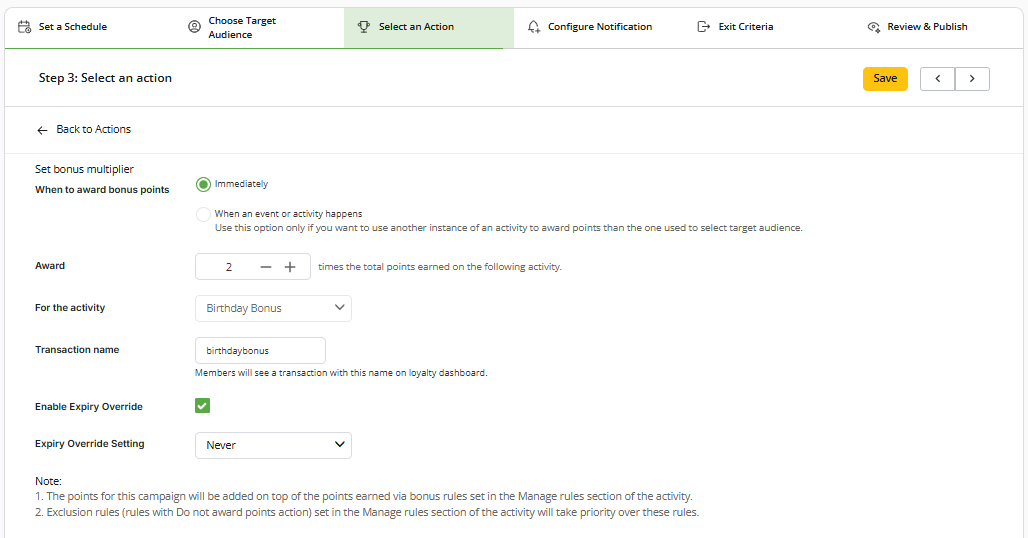
- Set Bonus Multiplier: This option awards bonus points over and above the points earned for the activity.
Please Note: Exclusion rules (rules with Do not award points action) set in the Manage rules section of the activity will take priority over these rules.
Settings:
- When to award bonus points: This option will be available only if the entry to the campaign is based on an event.
- Immediately: The member will earn bonus points when he performs the activity defined in “Choose Target Audience” settings.
- When an event or activity happens: Use this option when you want to use another instance of an activity to award points than the one used to in “choose target audience” settings.
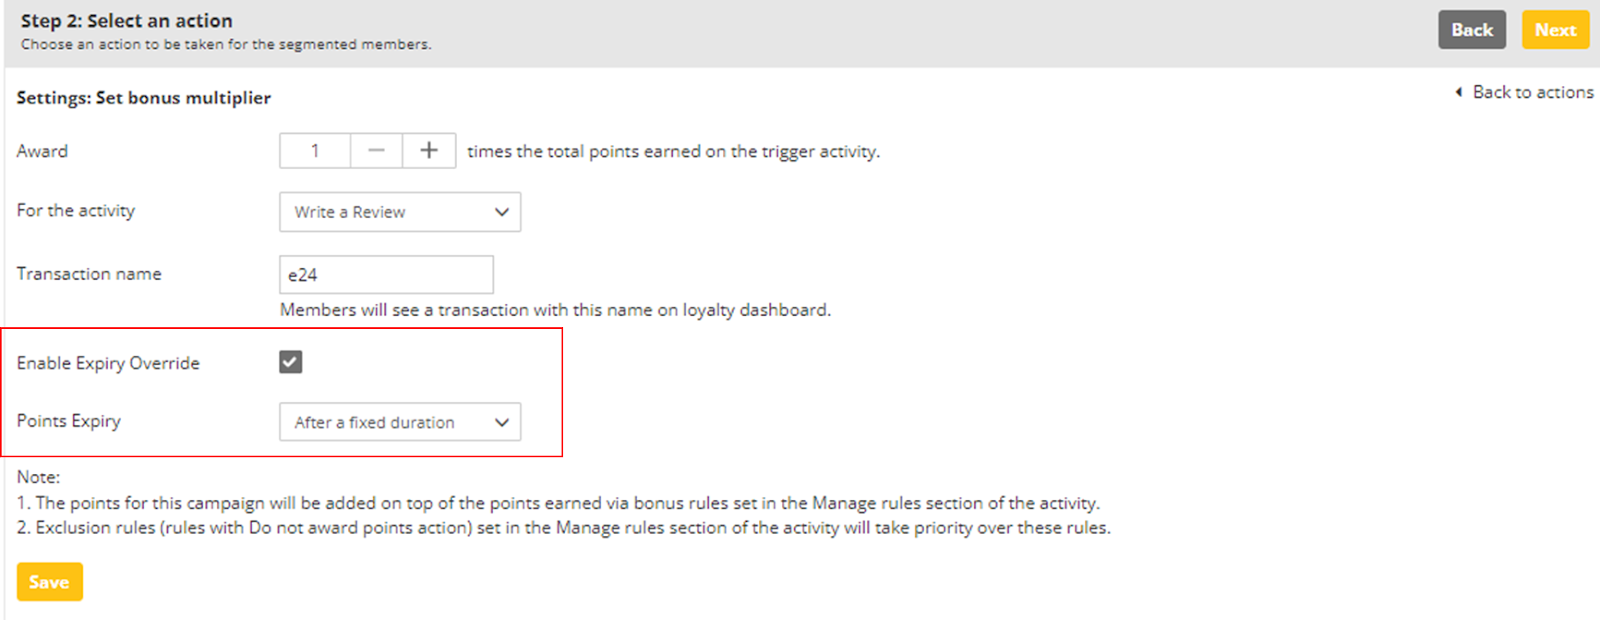
- Award: Here you have to define the multiplier digit.
- Transaction name: Name the transaction. Members will see a transaction with this name on the loyalty dashboard.
- Enable Expiry Override: If you wish to override the global settings of point expiration, enable this button.
- Expiry Override Setting: Define your expiration duration- After a fixed duration, Never or On a fixed date.
- Expire Points After: This option will be visible if you select “after a fixed duration.” Here define the number of days after which points will expire.
For details of point expiration, click here.
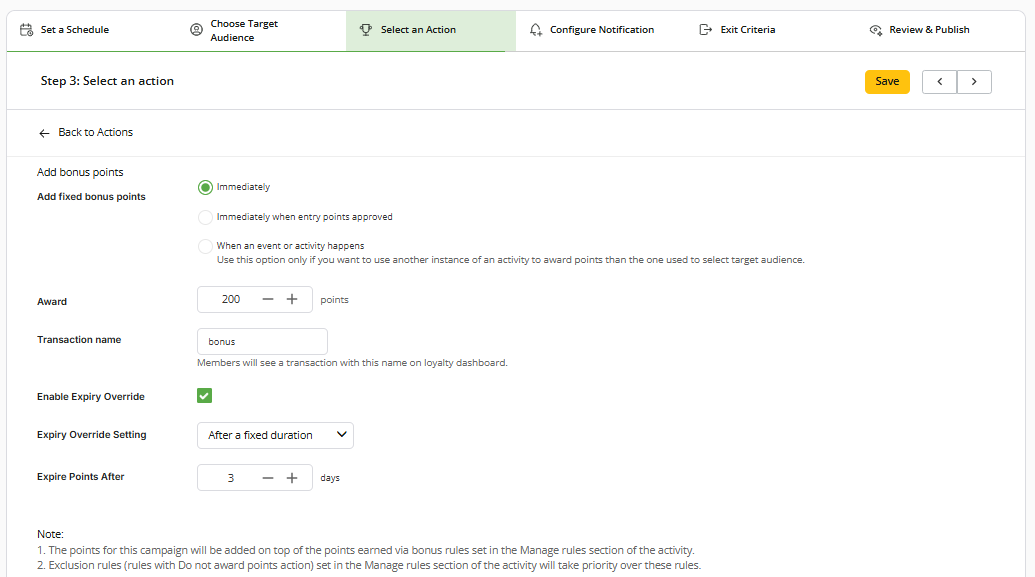
- Add Bonus Points: This is the same as bonus multiplier where bonus points are earned over and above the points earned for the activity. The only difference is that the fixed bonus points can be added as soon as the campaign goes live.
Settings:
- Add fixed bonus points:
- Immediately: The member will earn bonus points immediately when he performs the activity defined in “Choose Target Audience” settings. Irrespective of what approval type is saved in activities configuration.
- Immediately when entry points approved: The member will earn points when activity points are approved.
- When an event or activity happens: Use this option when you want to use another instance of an activity to award points than the one used to in “choose target audience” settings.
- Award: Here you have to define the multiplier digit.
- Transaction name: Name the transaction. Members will see a transaction with this name on the loyalty dashboard.
- Enable Expiry Override: If you wish to override the global settings of point expiration, enable this button.
- Expiry Override Setting: Define your expiration duration- After a fixed duration, Never or On a fixed date.
- Expire Points After: This option will be visible if you select “after a fixed duration.” Here define the number of days after which points will expire.
In bonus multiplier and bonus points actions, you can run campaigns on five activities: made a purchase, refer a friend, custom activity, write a review and submit a receipt activity.
Please Note:The bonus points in the 'submit a receipt' activity will only be awarded after approval of the receipt.
- No Action: No action will be taken for the segmented members.
Once you are done with action selection, save the settings and then click on the Next arrow button to proceed with other settings.
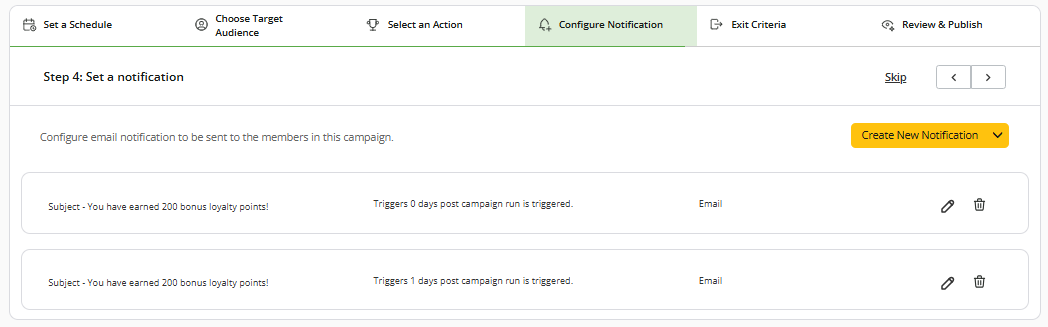
Step 4: Configure Notification
You can set an email or a series of email notifications and campaign webhook notifications to update your members about the campaign and the rewards. Click on Create New Notification to edit and save the notification.
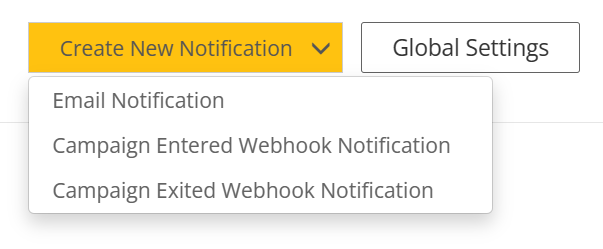
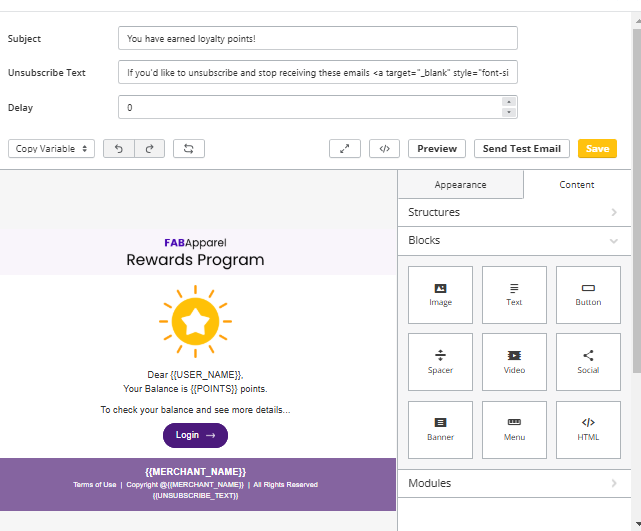
Email Notification
There are a variety of customizations you can make to the email notifications, such as:
- Subject: You can edit the subject line and make it appealing to your members.
- Unsubscribe Text: The unsubscribed text can be edited.
- Delay: You can delay the email for a few days. This is helpful if you want to send a series of emails and you want to delay them as per the requirements. For example: You want the first email to be sent after a day when the campaign starts and the next email within the next 2 days.
For detailed instructions on using the email editor, click here.
Once you are done with your edits, click on ‘Save’ button.
Please Note:
- You can edit email notifications for active, draft, and scheduled campaigns.
- When creating a new email notification, you'll automatically use the new email editor.
Steps to Copy an Old Template to a New Notification
- Click on “Copy Template.”
- Create a New Email Notification.
- Open the Code Editor:
- Remove all existing HTML.
- Paste the copied template code into the editor.
- Remove old CSS to avoid style conflicts and ensure it matches your new design.
Campaign Entered Webhook Notification
This setting will trigger a webhook when a member or members enter the campaign.
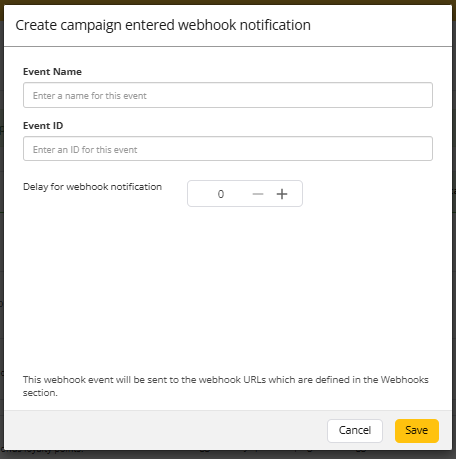
To set a webhook notification, you need to enter the name of the webhook (required) and event ID (optional).
Also, you have the option of delaying the webhook notification. This is helpful if you want to trigger a series of webhook notifications. The delay will be relative to the campaign launch date.
Campaign Exited Webhook Notification
This setting will trigger a webhook when a member or members exit the campaign.
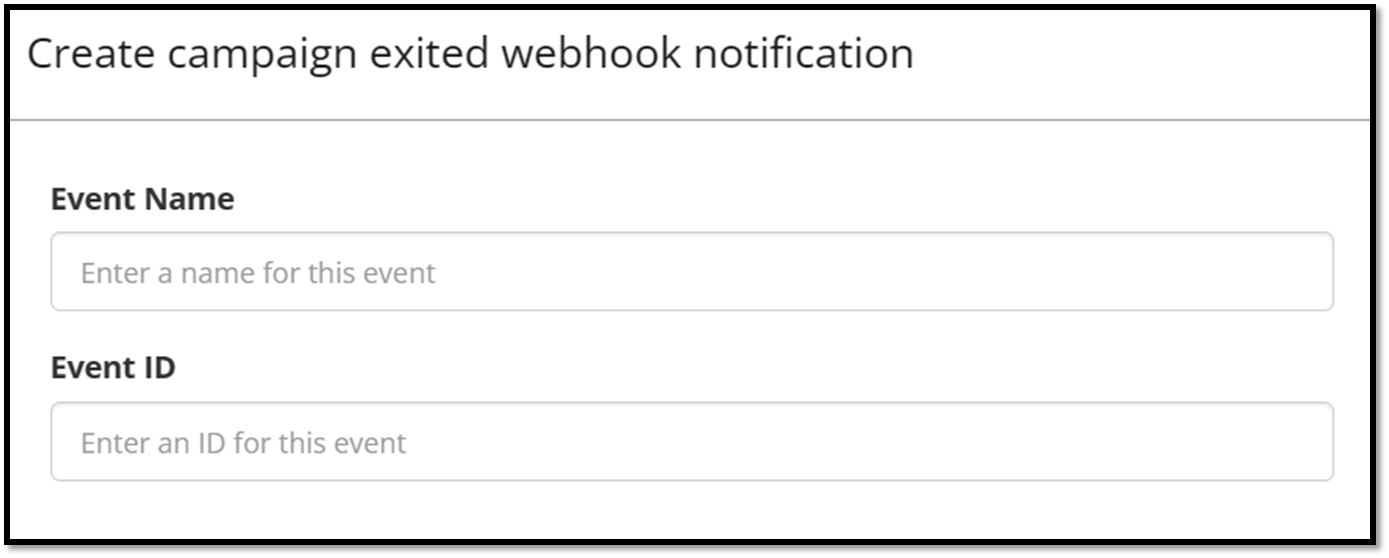
To set a webhook notification, you need to enter the name of the webhook (required) and event ID (optional).
You can setup the exit webhook notification only once, hence there is no option of delaying the notification.

Before you trigger the campaign webhook notification, you need to enable the campaign webhook in the webhook settings.
For this go to Notifications >> Webhooks >> Settings.
To know more about webhook settings, click here.
The campaign webhook will be available only to those clients who have activated Zinrelo Webhook 2.0.
Step 5: Set exit criteria
In this step, you can set rules to exit members from the campaign and also define the actions that need to be taken as they exit the campaign.
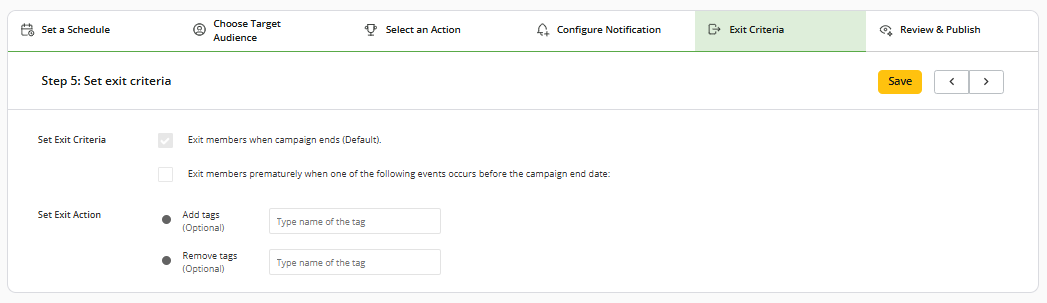
- Set Exit Criteria: In this setting, you can set the exit criteria.
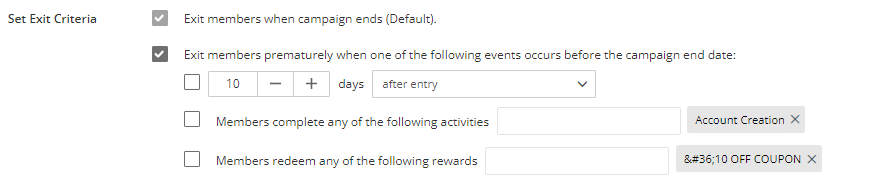
- Exit members when campaign ends: The members will exit the campaign automatically once it ends. This is the default setting.
- Exit members prematurely: You can exit members prematurely based on certain criteria:
In certain number of days after they enter the campaign- When members perform specific actions
- When members redeem specific rewards.
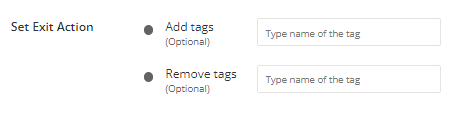
- Set Exit Actions: These are the actions to be taken when members exit the campaign.
- Add a tag to members exiting the campaign.
- Remove a tag from members exiting the campaign.
Once you are done with this setting, Save the settings and then click on the next arrow button to proceed with other settings.
Step 6.1: Review campaign configuration
In this step, review your campaign configuration before publishing it.
Step 6.2: Publish the campaign
This is the final step. Once you are sure of your configuration, set the campaign live.
Click on “Publish to set live” to publish the campaign.

Point Expiration in Campaign
Points awarded through campaigns can have their own expiration setting. When you select either the "Set Bonus Multiplier" or "Add Bonus Points" action in campaign configuration, you have the option to override the global settings of point expiration.
To do this, simply enable the "Enable Expiry Override" setting and select the expiration period.
To know more about point expiration setting, click here.
Please Note:
- When the campaign starts, it may take a few minutes to an hour for the campaign actions to take effect.
- The system generated tags cannot be created, modified or removed.
How Does Fixed Date Expiry Work?
With Fixed Date Expiry, all unredeemed loyalty points will expire at the end of the specified date—not at the start.
For example:
If the fixed expiry date is set to May 22, the points will remain valid throughout May 22 and will expire precisely at 11:59 PM on that day, based on your program's configured time zone.
This ensures members have the full day to redeem their points before they are forfeited.
Updated 2 months ago