
Account Creation
This article will guide you on how to award points to members for creating an account.
How to create an Account Creation activity
Go to: Program Settings >> Activities >> Click on Account Creation edit icon >> Enable the toggle to Account Creation activity.
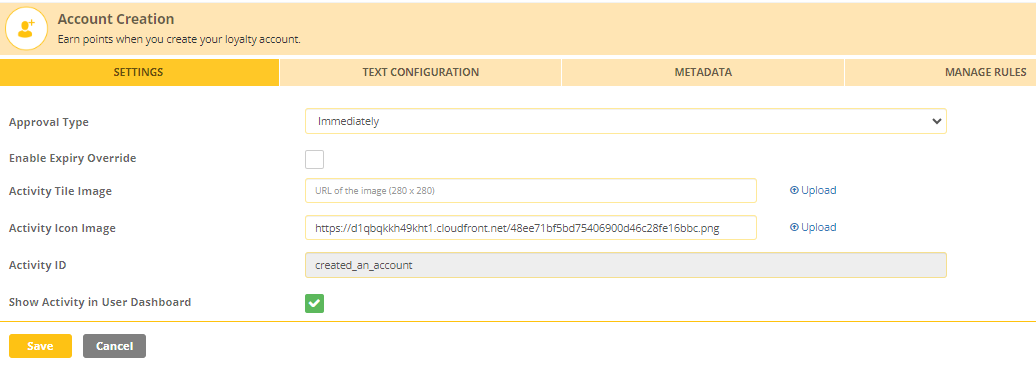
Settings
- Approval type: You can set the approval of point allocation in different ways. It could be
- Immediately
- Manually ( where you manually approve the request)
- After a fixed duration: You can set up a fixed duration of days after which the point will get approved automatically.
- Enable Expiry Override: Transactions for a specific activity can have a different expiry setting. To override the global settings for point expiration of an activity, enable this setting. Select the expiring period from the “Expiry Override Settings” dropdown and save. To know more about point expiration click here.
- Activity ID: This field cannot be edited for the in-built activities. For custom activities, this field acts as a reference in the API call.
- Show activity in User Dashboard: You can opt if you want to display this activity on the End-user dashboard or hide it.
Text Configuration
You can set up the text for the activity. This text will be displayed to the end-user via the onsite notification

Manage Rules
You can set up rules based on the 'Enrollment date' of the user. For example: If the enrollment was done between Jan 1, 2021, and March 31, 2021, = Then award X points
Note: These rules are an add on to the base points awarded.
You can either set up a
i) Bonus Multiplier OR
ii) Fixed points rule.
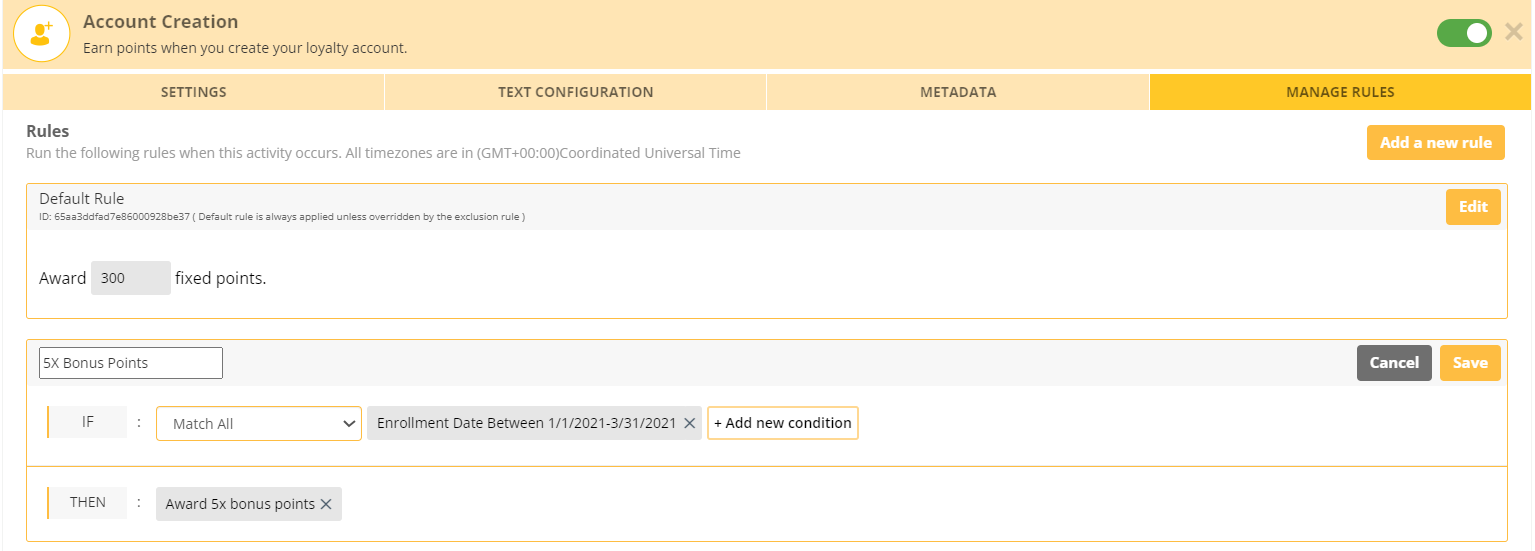
So based on the above example you can set:
- IF enrollment date is between January 1, 2021, and March 31, 2021, then apply fixed points = 100
- IF enrollment date is between January 1, 2021, and March 31, 2021, then apply 5X multiplier. (Default Rule X 5)
Note: To change the default rule value, click on the “Edit” button and update the value.
End User Experience
Account Creation - Referred by a Friend
The process for account creation through a referral by a friend is as follows:
- A member refers a friend to a particular store or website.
- The friend receives an email notification regarding the referral and the opportunity to create an account.
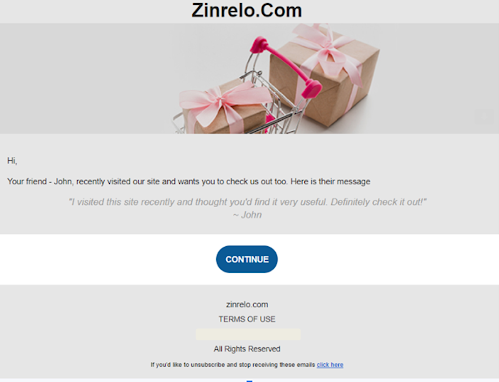
- Upon opening the email, the friend clicks on the "Continue" button provided.
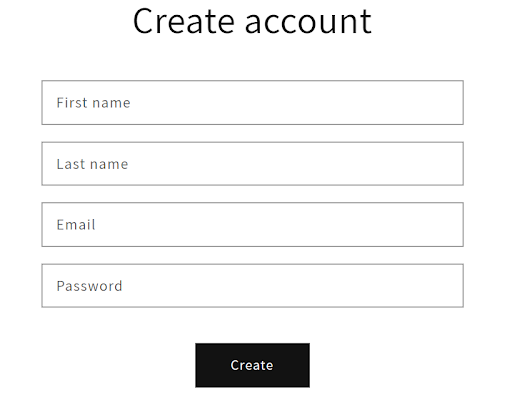
- The friend is redirected to the store's website, where a pop-up window appears, prompting the friend to enter their email address.

- After entering the email address, a confirmation pop-up is displayed, notifying the friend about the gift associated with the referral.

- To claim the reward, the friend must proceed with creating an account using the same email address provided earlier.
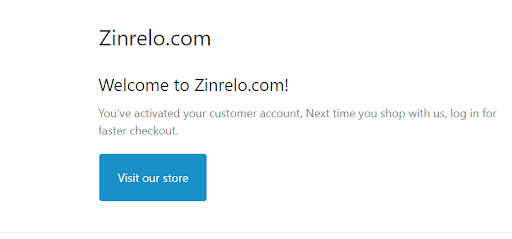
- Once the account is successfully created, the friend receives a welcome email, acknowledging their new account.
- The friend can view his available rewards in the “My Rewards” section in the dashboard.
This process ensures that the friend referred by a member can easily create an account and receive the designated reward as part of the referral program.
Account Creation- By Landing on the Page
- Upon landing on the company website, the individual proceeds to create an account.

- Once the account is successfully created, the member receives a welcome email, acknowledging their new account.

- The member can view his available rewards in the “My Rewards” section in the dashboard.
Updated 2 months ago