
Receipt Scanning Module
This article explains how Zinrelo's receipt scanning feature works.
Introduction
Zinrelo’s receipt scanning feature enables brands to award points to customers for offline purchases. This is particularly useful when the brand doesn’t own the sales channel. Big brands usually sell through a network of distributors. As a result, they don’t have a direct connect with their customers. If they could encourage their customers to sign up for a loyalty program, the brands would be able to establish a direct line of communication with their customers. They could then seek feedback from customers, share updates and send marketing promotions to the customers.
The receipt scanning module for rewards is designed to incentivize customers to join a brand’s loyalty program.
Manually Uploading Receipt through Admin Console
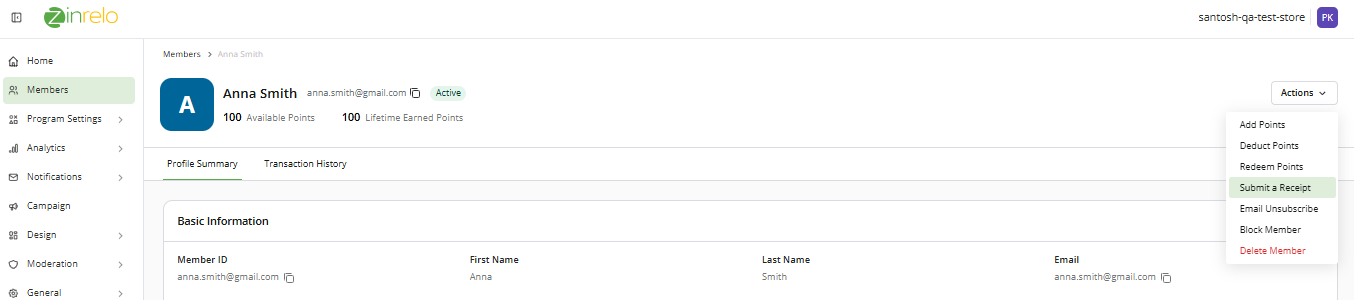
You can manually upload a receipt through the Zinrelo admin console and award points to your members. To do this, navigate to Members >> Select the Member >> Click on Actions >> Select "Submit Receipt."
Please Note:
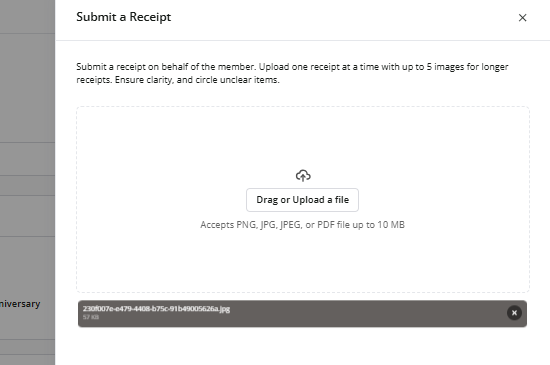
- You can only upload 1 receipt at a time. Max 5 images allowed for longer receipts.
- Max image size: 10MB.
- Acceptable file types: PNG, JPG, JPEG or PDF
- Receipts should be eligible. If products are not clearly identifiable in the receipt, please circle the corresponding line item.
All receipts uploaded through the manual process will be sent directly to the moderation section for review.
Uploading the Receipt
- Select the action "Submit a Receipt."
- Click on "Drag or Upload a file" and submit.
- The submitted receipt can be evaluated in Moderation>> Receipt Moderation.
Uploading Receipt through End User Dashboard
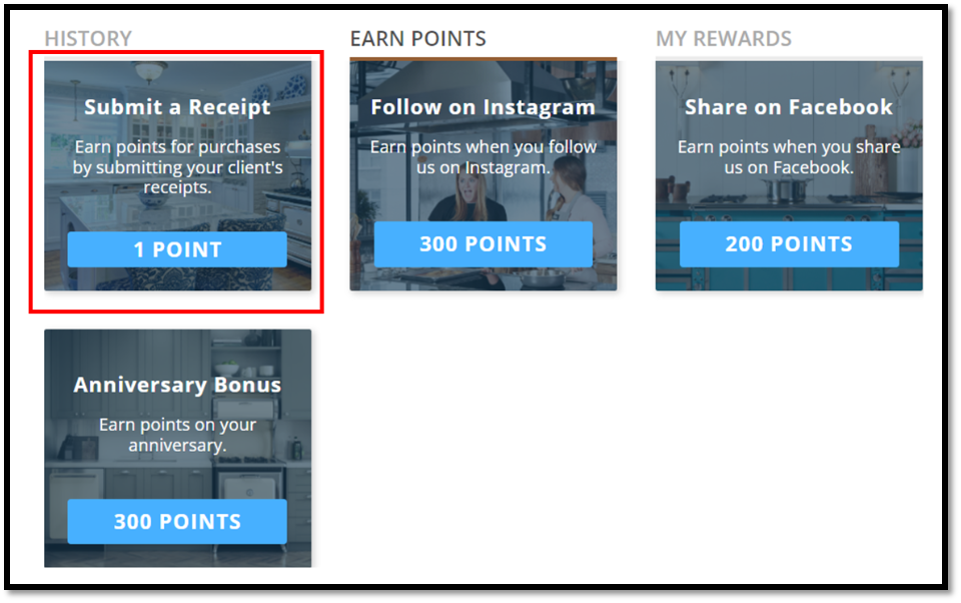
After member sign up for the program, they can access the loyalty dashboard where they will see all the earning opportunities. To claim points for their offline purchase, members will navigate to the ‘Submit a Receipt’ activity in the dashboard.
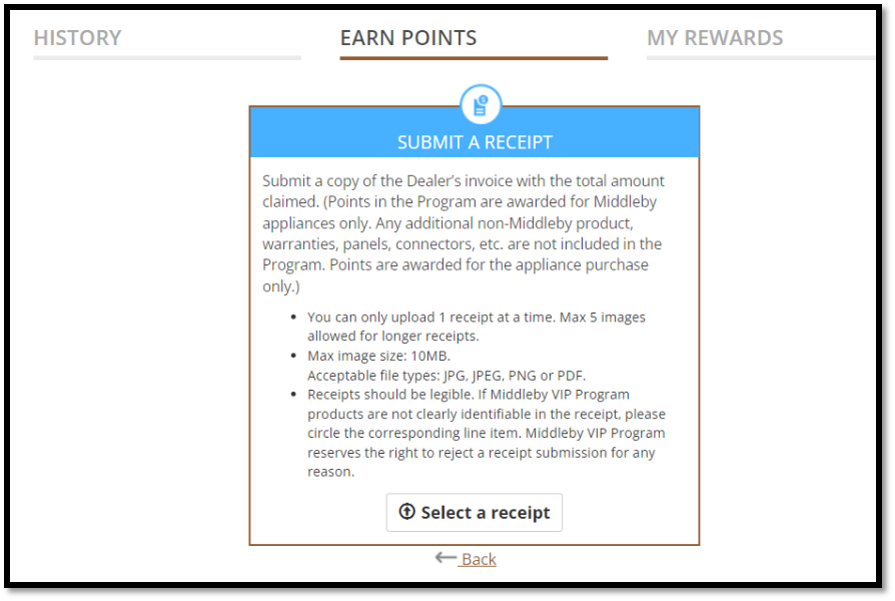
Members will then be presented with an option to upload a receipt.
- Members can only upload 1 receipt at a time. Max 5 images allowed for longer receipts.
- Maximum permissible receipt image size is 10MB.
- Acceptable file formats for the receipt are : JPG, JPEG, PNG or PDF.
These instructions, along with other necessary information, is displayed to the members on the dashboard. Once the receipt is successfully uploaded, they will see a success message. Points will be credited to their account after successful verification.
Receipt Scanning and Moderation Process
Receipt scanning is a 3 step process. The content extraction is handled by an OCR reader but manual checks are in place to ensure accuracy.
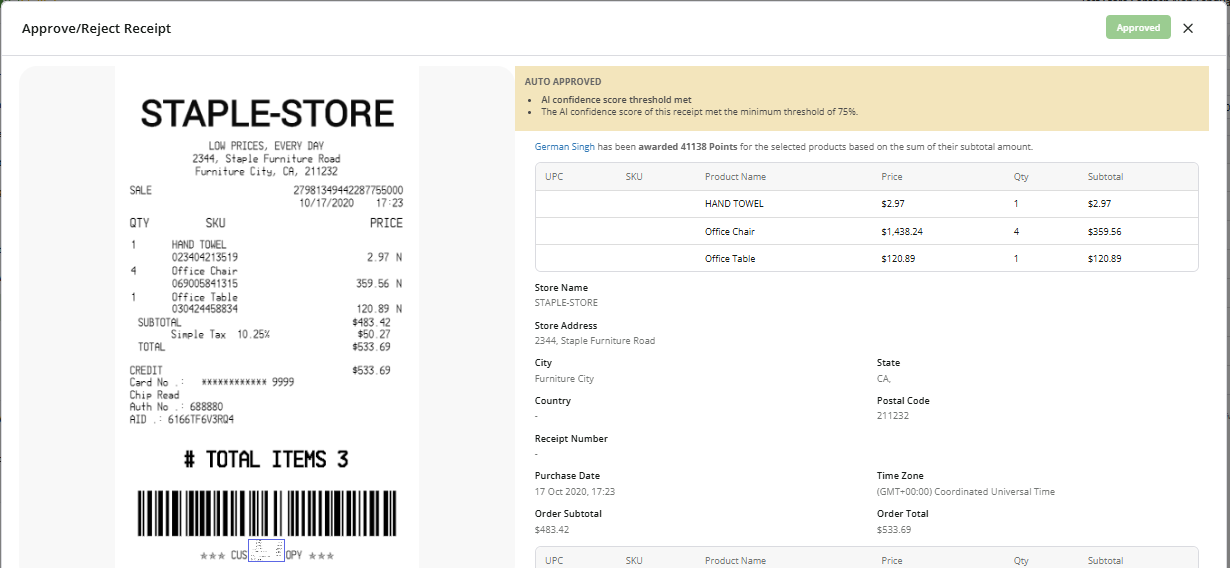
Step 1: OCR Scanning
Once a receipt has been uploaded by a member, Zinrelo’s OCR scanner scans and extracts the contents of the receipt. The receipt then shows up in the moderation section in the Zinrelo admin console.
As the volume of receipts scanned increases, the OCR is able to extract information from them more accurately.
These receipts are then run through the product list or SKUs (stock-keeping units) uploaded to the Zinrelo Admin console. The products that are close to the listed products will be checked and will be selected for further business rules like rewards, set-up bonus points, etc.
The product list could have product names, product IDs, and keywords.
Note: It is highly recommended to share two different files, one for exact product names and SKUs and the other for keywords.
Step 2: Setting up moderation
You can set up automation rules to make the moderator's job more convenient. With these rules, the receipt will be flagged for moderation or auto rejected.
In moderation settings, you can configure:
Auto Rejection Rules: You can set up multiple rules to reject or flag a receipt for moderation automatically. There are various conditions on which the rules can be set-
- Date conditions
- Uniqueness conditions
- Missing information conditions
- Invalid product conditions
- Store conditions

Setting up business rules on receipt
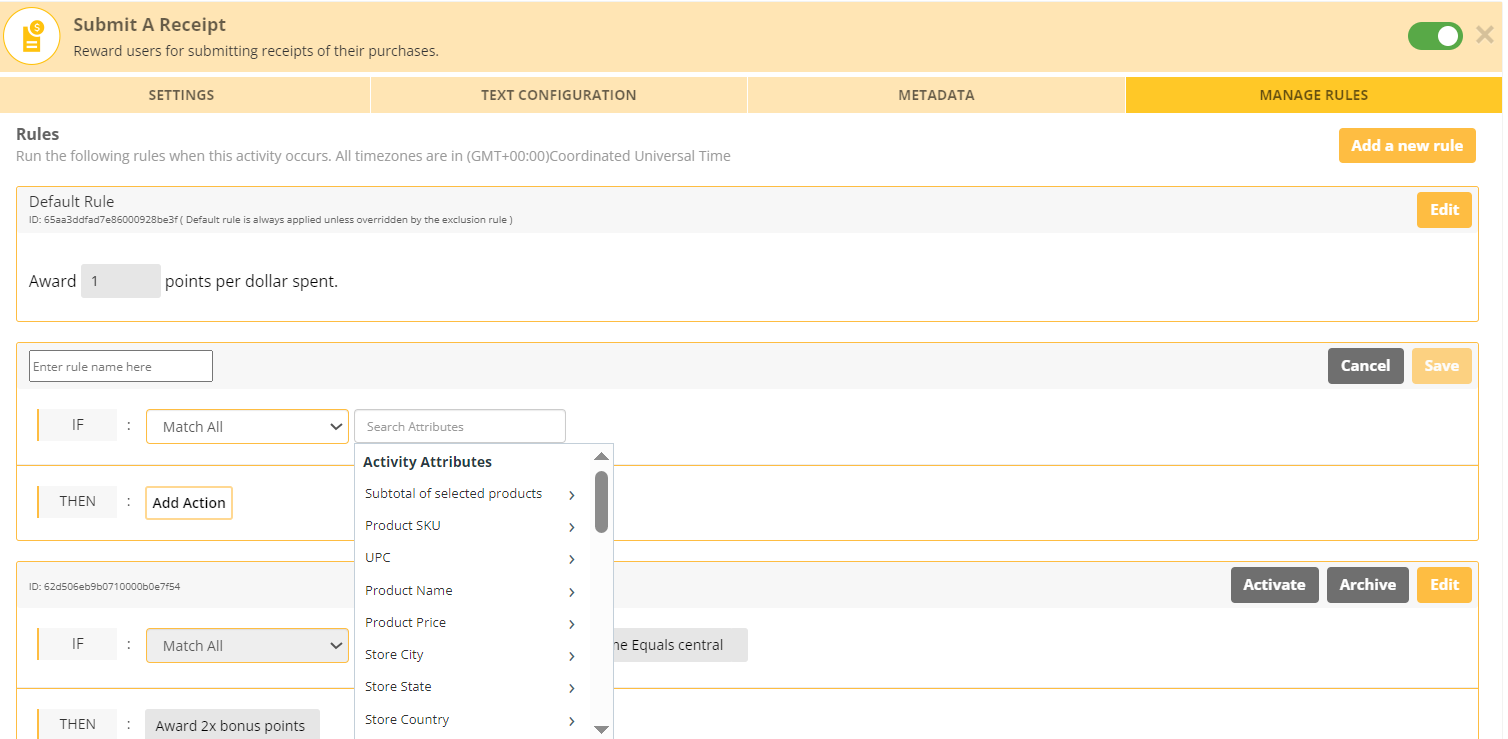
The rules frame in receipt scanning functions similarly to other activities. To set up business rules on receipt, you have to go to:
Program Settings >> Activities >> Submit a receipt >> Manage rules.
Here is the list of Activity Attributes that you can use to set-up bonus points for the clients:
- Purchase Date
- Subtotal of selected products
- Store Name
- Store City
- Product Price
- Store Country
- Store State
- Product Name
- Product SKU
- UPC
- Receipt Submission Date
- Store Postal Code
Note:The exclusion rules set on member and activity attributes will be evaluated at the time of moderation.
Receipt Scanning is a premium module. If you want it to be enabled for your account, please contact your customer success manager at[email protected].
Timezone in Receipt
To set the receipt timezone for multiple stores and keep it for bookkeeping purposes, follow these steps:
- Go to the "Members" section in your account.
- Click on the member for which you want to update the receipt timezone.
- From the action dropdown, select "Adjust Points".
- Choose the "Submit a Receipt" activity.
- In the order details, select the store timezone.
By following these steps, you can ensure that the receipt timezone is accurately recorded for each store and member, making it easier to manage your bookkeeping and other business operations.
To know more about the timezone, click here.
Updated 2 months ago